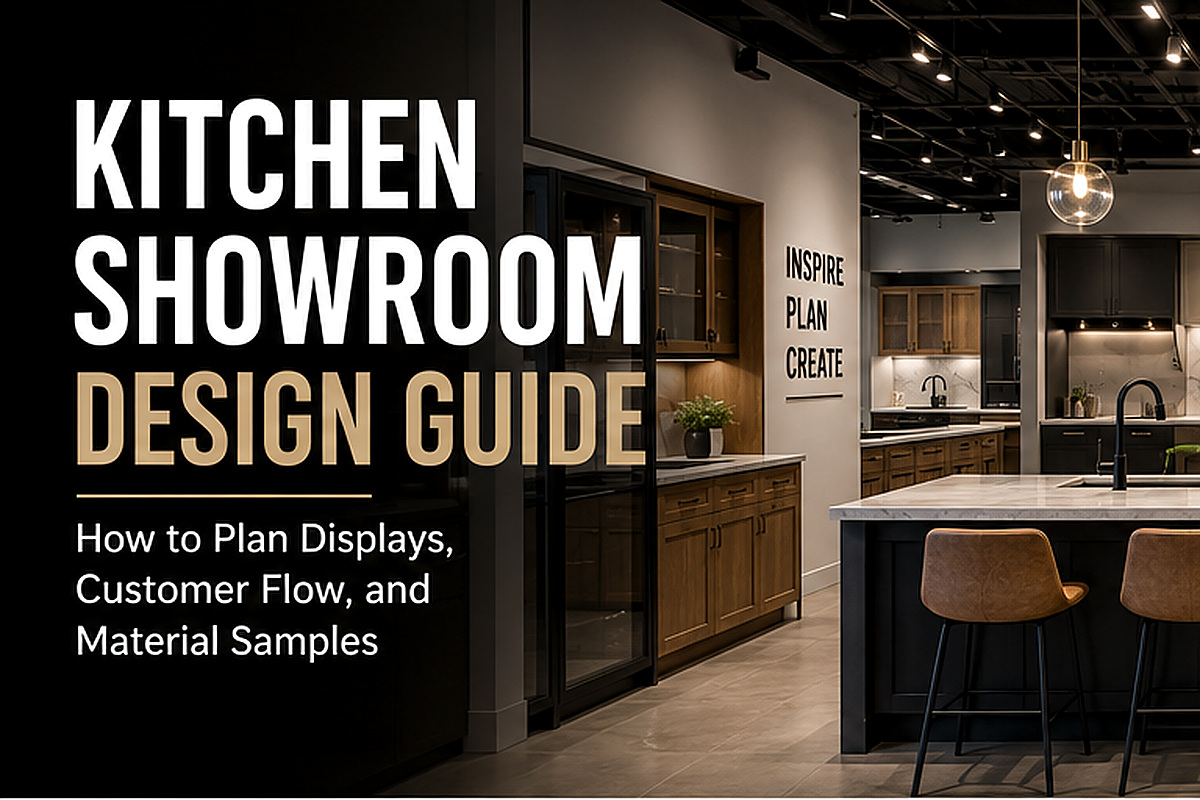
When designing a kitchen showroom, organize the space around buyer decisions. Visitors should understand the offer, compare materials, test key features, and reach consultation without seeing every available option.
The brief should link business goals to customer flow, displays, samples, lighting, storage, and technical coordination. Approved decisions then become drawings, 3D views, schedules, and details for pricing and site review.
Why Start With a Kitchen Showroom Brief?
Write the brief before fixing displays or utilities. It defines the sales purpose, target buyers, and approval responsibilities.
Setting Business Goals and Design Scope
Define the commercial result and the design team’s responsibilities. A cabinet brand may focus on product education. A retailer may prioritize package sales, consultations, or demonstrations. A multi-brand store may need neutral comparison areas. Translate each goal into a physical requirement, such as private consultation tables or full kitchen displays beside related samples.
Record whether the scope covers space planning only or also lighting, signage, millwork, appliances, sample storage, specifications, and purchasing support. Do not treat a rendering as technical or installation documentation unless the agreed scope includes those deliverables.
Target Buyers and Their Main Decisions
Group buyers by decision and project stage. A homeowner replacing cabinets needs a different route from a developer comparing repeatable packages. A designer may move directly to finishes, while an early-stage buyer may need layout and budget guidance.
| Buyer group | Main decision | Showroom support |
|---|---|---|
| Homeowner or renovator | Layout, finish, storage, and appliance fit | Full kitchens, samples, consultation |
| Builder or developer | Repeatable package, cost, availability, and approval | Package boards, sample sets, meeting space |
| Architect or designer | Technical fit, finish control, and documentation | Sample library, worktable, specifications |
| Dealer or trade partner | Range, construction, ordering, and updates | Comparisons, training, replaceable parts |
Use the buyer map to divide public displays from staff-led resources. Large self-service displays may waste space when customers need guided selection.
Product Categories and Display Priorities
Rank categories by sales value, decision difficulty, and the need for full-scale review. Use full kitchens for planning ideas, comparison walls for finishes and hardware, and small samples near consultation points.
Record each display’s purpose, size, utility need, update frequency, and supplier. Mark it as essential, useful, or optional. If space is tight, keep the displays that answer the hardest customer questions.
A full kitchen earns floor space when it explains a complete planning idea. Products that require side-by-side comparison belong in a smaller sample format.
Floor Area, Utilities, Budget Range, and Approval Requirements
Lock the physical and commercial limits before developing the concept. A commercial interior design brief should confirm:
| Input | What to confirm |
|---|---|
| Floor area and site | Usable area, ceiling height, fixed elements, access, and receiving |
| Utilities | Power, data, plumbing, ventilation, fire protection, and capacity |
| Budget | Design, construction, displays, freight, installation, permits, and contingency |
| Approvals and schedule | Decision owners, reviewers, opening date, and late decisions |
Separate permanent infrastructure from replaceable displays to clarify future update costs.
How Should Customer Flow Shape a Kitchen Showroom Layout?
Customer flow should follow the buying sequence while allowing visitors to pause or compare. The route needs a clear start and handoff to consultation.
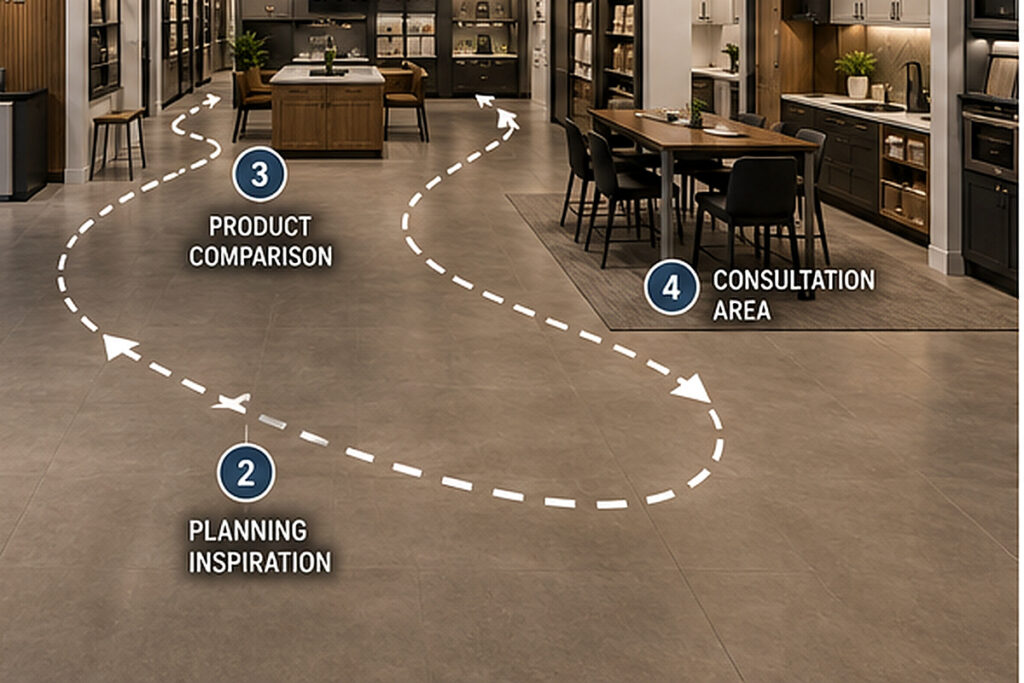
Customer Journey From Entry to Consultation
Plan each stage around the customer’s next decision.
- Show the product focus and reception at the entry.
- Use early displays to establish styles, planning ideas, and confirmed product tiers.
- Lead into comparisons for cabinets, countertops, hardware, storage, and appliances.
- Place consultation after visitors can discuss needs, measurements, budget, and next steps.
- Keep a clear route back to samples and displays.
Allow browsing and direct access to the sample library or meeting area. Some customers browse before speaking to staff, while trade visitors may arrive with drawings and move directly to technical selections. One narrow route cannot support every visitor.
Display, Sample, and Consultation Placement
Place each zone according to the next customer decision.
| Zone | Placement relationship | Planning reason |
|---|---|---|
| Entry and reception | Visible from the entrance | Establishes orientation |
| Full kitchen displays | Main browsing route | Shows scale and combinations |
| Finish samples | Near displays and consultation | Supports comparison |
| Hardware and storage | Safe operating area | Allows physical testing |
| Appliances | Near related kitchens | Shows fit and clearance |
| Consultation tables | Quiet but connected | Supports longer reviews |
| Sample storage | Near comparison areas | Reduces retrieval and clutter |
Keep consultation easy to find but protected from entry traffic. Provide visual and acoustic separation for drawings, pricing, or personal project information.
Sightlines, Circulation, and Accessibility
Sightlines should reveal the route and zone purpose. Check whether tall cabinets, appliance towers, partitions, or signs block views from the entrance, reception, turns, consultation tables, and display exits.
Test circulation with doors, drawers, stools, and chairs in use. The route must work when groups stop or staff retrieve samples. Movable display area does not count as dependable circulation space.
Address accessibility during the first layout review. Qualified local professionals should check routes, doors, operable parts, work surfaces, and service counters against applicable requirements. State and local rules may add site-specific obligations.
How Should Kitchen Displays and Material Samples Be Organized?
Organize displays by buyer decision and connect them to a controlled sample system. Customers should understand the options without seeing every variation at full scale.
Full Kitchen Displays for Different Buyer Needs
Give each full kitchen one planning job. A compact display may focus on storage, a family kitchen on island planning and appliance clearances, and a trade display on a repeatable cabinet package.
Write a short display brief before designing each vignette:
- Buyer and project type
- Planning problem
- Cabinet and storage features
- Material and appliance relationships
- Operable and replaceable parts
- Linked samples and documents
Do not build several kitchens that differ only in color. Give each display a distinct layout, use case, or product level.
Working Displays and Display-Only Vignettes
Working and inactive displays require different scopes. Label each type. A working display may need power, water, drainage, ventilation, controls, shutoffs, cleaning access, and staff procedures. An inactive vignette can show product relationships without operating services.
Confirm equipment data, site capacity, permits, and local rules before connecting appliances or plumbing. Keep access panels and replacement routes usable. Provide clearance for appliance doors, cabinet doors, drawers, pullouts, and corner systems. Secure small parts, plan display resets, and make fragile items view-only.
Cabinetry, Countertop, and Hardware Comparison Areas
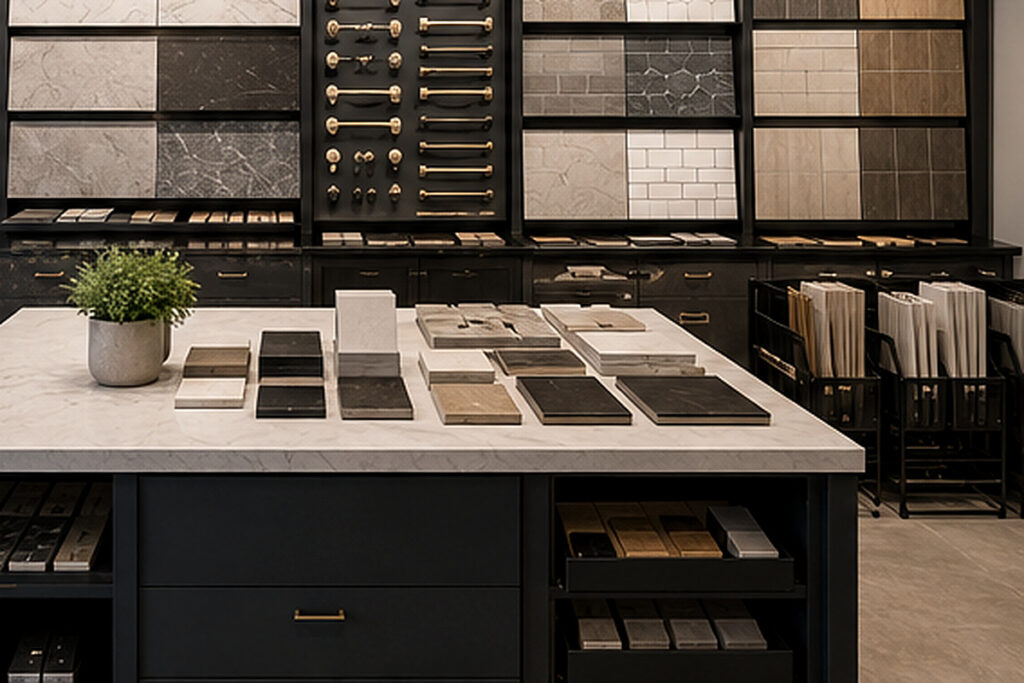
Arrange door styles by construction, profile, or collection, and group finishes by color and sheen. Use larger countertop samples for pattern review, with edge and thickness options shown separately. Mount hardware where customers can judge scale and operation. Give each wall one organizing rule, and label any mix of price, style, material, or brand.
Use neutral, consistent light in sample areas. Screens can support selection, but physical review remains necessary when texture, sheen, edge detail, or natural variation affects the choice. A documented material and FF&E selection process should connect each approved sample to its item code, supplier, finish, location, and revision.
Sample Organization, Storage, and Replacement
Record an identifier, display location, storage location, status, and owner for every sample. Separate current, pending, discontinued, damaged, and archived items. Keep control samples when staff may need to resolve an earlier order or specification. Store heavy or fragile materials in suitable racks or drawers. Place frequently used sets near consultation tables. Protect reserve stock from light, dust, moisture, and handling as the material requires.
Remove outdated labels, reconcile records with physical stock, and track project approvals. Treat a changed finish or construction as a new approval.
How Do You Turn a Kitchen Showroom Concept Into Specifications?
Convert the approved concept into coordinated drawings, schedules, and details within the design-to-delivery process. Identify what will be built, connected, labeled, and stored. Renderings do not replace dimensions, product data, responsibilities, or site verification.
3D Layout, Scale, and Sightline Review
Use 2D plans for coordination and 3D views for spatial review. Plans should show displays, circulation, operating clearances, furniture, storage, utilities, and signs. Use 3D views to test scale, sightlines, materials, and key customer views. Build the model from verified site information and current product dimensions.
Compare layout options while the route or display count remains uncertain. Resolve the planning logic before developing photorealistic detail. Mark conceptual items. Material variation, production batches, substitutions, and site lighting can change the installed appearance. Approve finishes with current samples and technical data, not visuals alone.
Material Sample and Lighting Review
Review color, texture, sheen, pattern scale, edges, and joints under the planned lighting. Use larger samples or mockups for variable surfaces. Coordinate general, task, display, and decorative lighting with ceilings, signs, cabinetry, and screens. Use product data and calculations where performance, heat, controls, or electrical compatibility matters. A rendering shows lighting intent, not verified performance.
Keep a control sample for each major visible material. Label it with the item code, supplier, finish, approval date, reviewer, and related schedule. Review any substitute against the same approval criteria.
Cabinetry, Appliance Openings, Signage, and Storage Details
Fabrication details must define what each team will supply or install. Cabinet drawings should show modules, swings, clearances, panels, fillers, hardware, interfaces, and removable parts. Size appliance openings from the confirmed model and current manufacturer data, including service and operating clearances.
Create a signage schedule for zone names, product labels, pricing, wayfinding, digital displays, and required notices. Assign content and update responsibility. Labels should be replaceable.
Show sample drawers, reserve stock, supplies, staff storage, and technology equipment on the plan. If the plan omits storage, boxes and loose samples will occupy the floor.
Site Verification and Local Technical Responsibilities
Before fabrication, the commercial interior design process must reconcile the concept with the measured site. Check dimensions, structural limits, lease conditions, utilities, fire protection, egress, accessibility, loads, and approvals.
Remote design depends on accurate site information. Qualified local architects, engineers, code consultants, contractors, and installers remain responsible for regulated and site-specific work within their agreements. Adopted codes and local amendments govern the project. A model code does not prove local adoption. Before release, cross-check drawings, schedules, equipment data, finish codes, signs, storage, and utilities. Give each open issue an owner and due date, then record its effect on cost, schedule, or fabrication.
FAQs
What Factors Affect the Cost of Kitchen Showroom Design?
Cost depends on area, display count, construction, utilities, lighting, technology, site conditions, permits, freight, installation, and phasing. Working appliances, plumbing, and custom millwork can add coordination and installation scope. Separate reusable infrastructure from replaceable displays to clarify future update costs.
Can a Kitchen Showroom Be Designed Remotely?
Yes. At GEORGE INTERIOR, We can develop the brief, layout, 3D views, material direction, and specifications remotely. Our remote design process requires accurate measurements, drawings, site images, product data, and local verification of codes, permits, building systems, fabrication, and installation.
Can an Existing Kitchen Showroom Be Redesigned in Phases?
Yes. Start with a master plan, then phase work by zone, business priority, utilities, and customer disruption. Preserve required exits, consultation space, sample control, and separation from construction. Temporary partitions, repeated mobilization, and after-hours work may add cost. Compare phased operation with a shorter closure.
Should a Kitchen Showroom Offer Digital or Virtual Design Tools?
Use digital tools for defined customer decisions. Current commercial interior design trends favor technology that supports work without dominating the room. Screens can compare finishes, show configurations, or retrieve specifications. Virtual reality may help with scale, but it requires current data, staff support, and a clear role in consultation. Digital tools should not block circulation or replace material samples.
How Often Should Kitchen Showroom Displays Be Updated?
Update a display when products or specifications change, parts become damaged, labels become unreliable, or the display no longer supports sales. Inspect high-touch parts and sample records routinely instead of waiting for a fixed redesign cycle. Modular construction can allow fronts, hardware, signs, and selected equipment to change without rebuilding the full display.