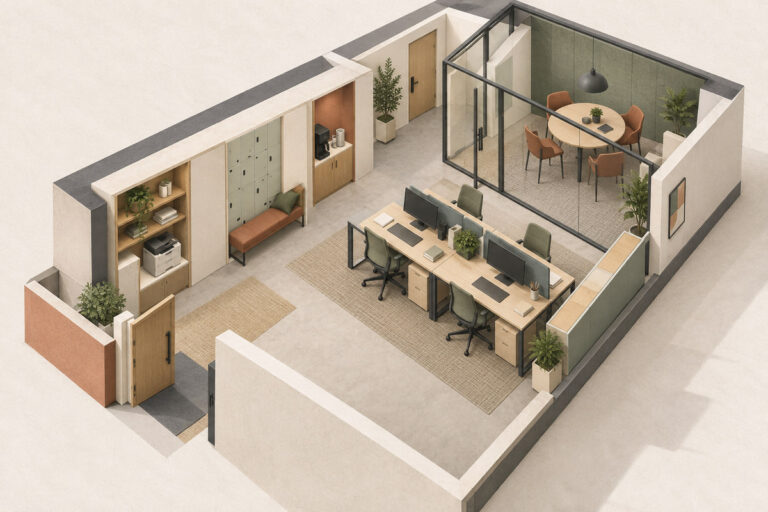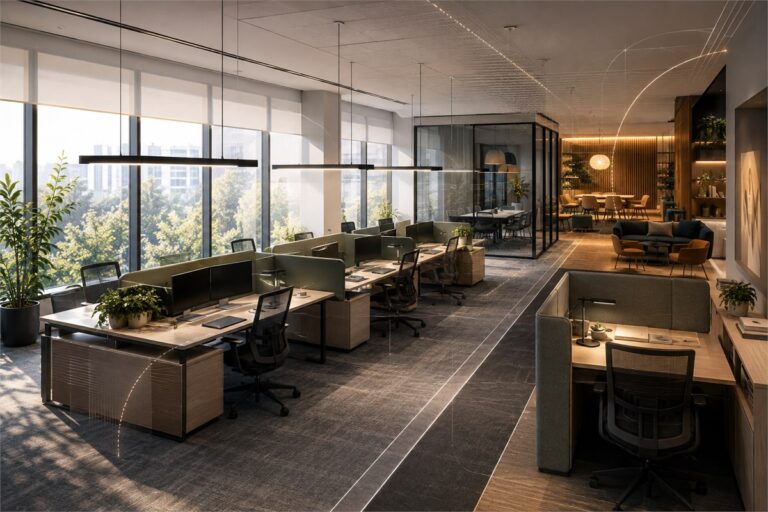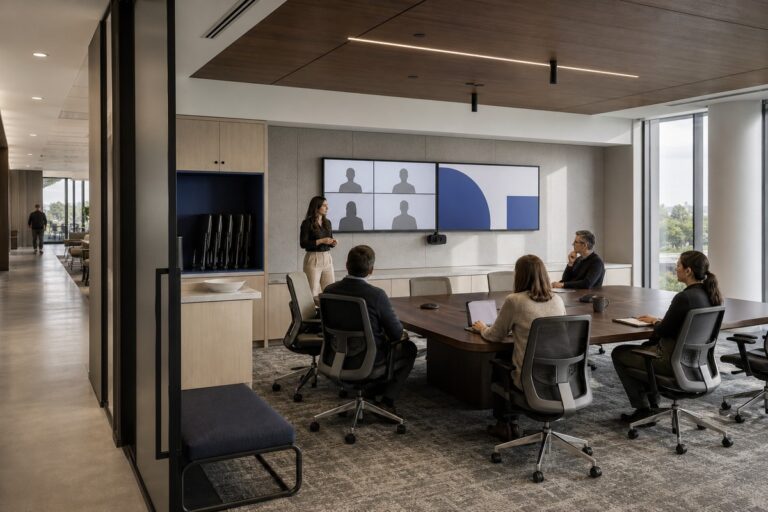
Biophilic office design connects people with nature in three ways: the real thing (plants, daylight, outdoor views), natural analogues (wood, stone, organic patterns), and spaces that borrow from the outdoors, like a sheltered seat with a long view. In a renovation, daylight, views, and the existing layout set the limits.
The work runs in four steps: audit daylight and views, assign natural elements by zone, lock the material palette and test it in 3D, then hand procurement a brief it can actually price.
Audit Daylight and Views First
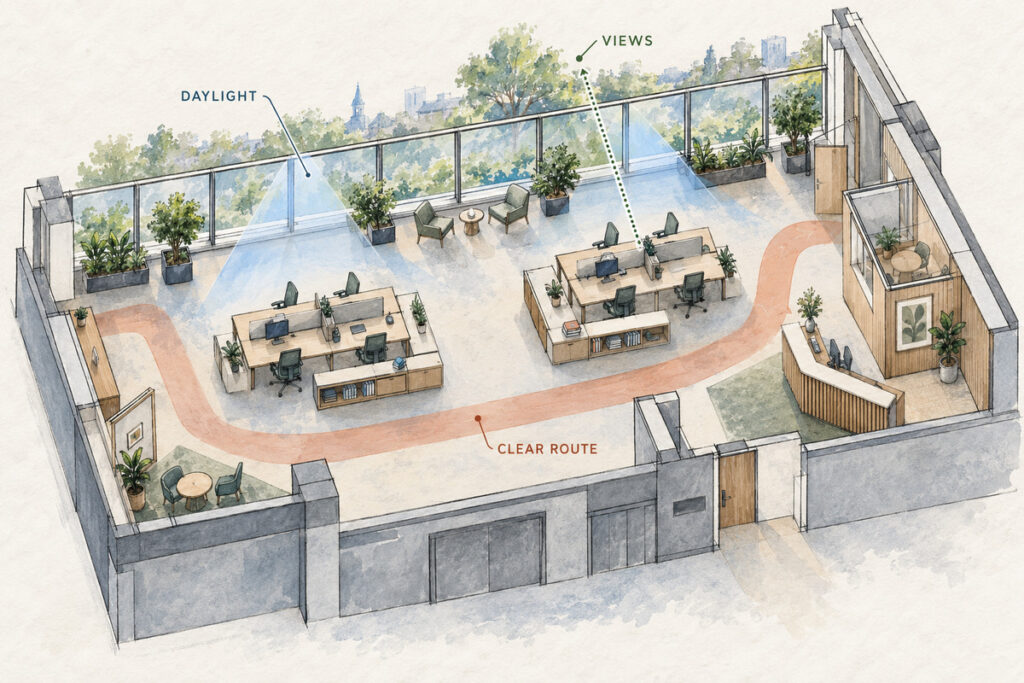
Before spending a dollar on planters, map the views you already have. Mark windows, outdoor views, partitions, and furniture you’re keeping on the floor plan, then walk the floor during business hours. Note where sun hits desks, where people can see trees or sky, and which walls block them. A floor that overlooks trees can be planned around those views, while a deep floor plate may need its planting near the windows and natural textures to carry the idea into the core.
| What the office has | What to consider | What to confirm first |
| Windows with a useful outdoor view | Keep sightlines open from shared seats and desks | Furniture height, shades, and screen positions |
| Tall partitions beside windows | Lower storage or a moved partition | Privacy needs and which walls can change |
| Little room for planting | A few deliberate plant locations | Chair movement, access, and care space |
| Materials or furniture worth keeping | Build the new palette around them | Dimensions, condition, color, and finish |
| A tight budget or little maintenance capacity | Open up existing views and update one key material | Installation scope and who handles ongoing care |
Fit nature around a working office layout, since desks, meeting rooms, and circulation get space before planters do. Treat plants as the riskiest line item. They tend to fail for two dull reasons, too little light or no one in charge of care, so have a planting specialist assess each location, including supplemental lighting, before species are chosen.
Biophilic Office Design Ideas by Zone
Nature competes with everything else in a commercial and office interior for budget and floor space, so give each element one job in one zone.
Reception: A Natural Focal Point
A wood feature wall behind the reception desk gives visitors an immediate focal point, and a freestanding planter by a nearby window adds greenery where the light can actually support it.
Design example: A wood wall frames reception, with planting beside the window and a clear arrival route.
Keep the route from the door to the desk clear, and check the plant’s mature size against signage, visitor seating, and the receptionist’s line of sight. Coordinate the wall’s grain with the desk front and countertop, because the same strong grain on every surface crowds the arrival.
Workstations: Views Without Obstructions
Keep tall cabinets and dense planting out of the main sightlines across desk groups, and put planters at the ends of rows, where people see them without losing work surface or chair space.
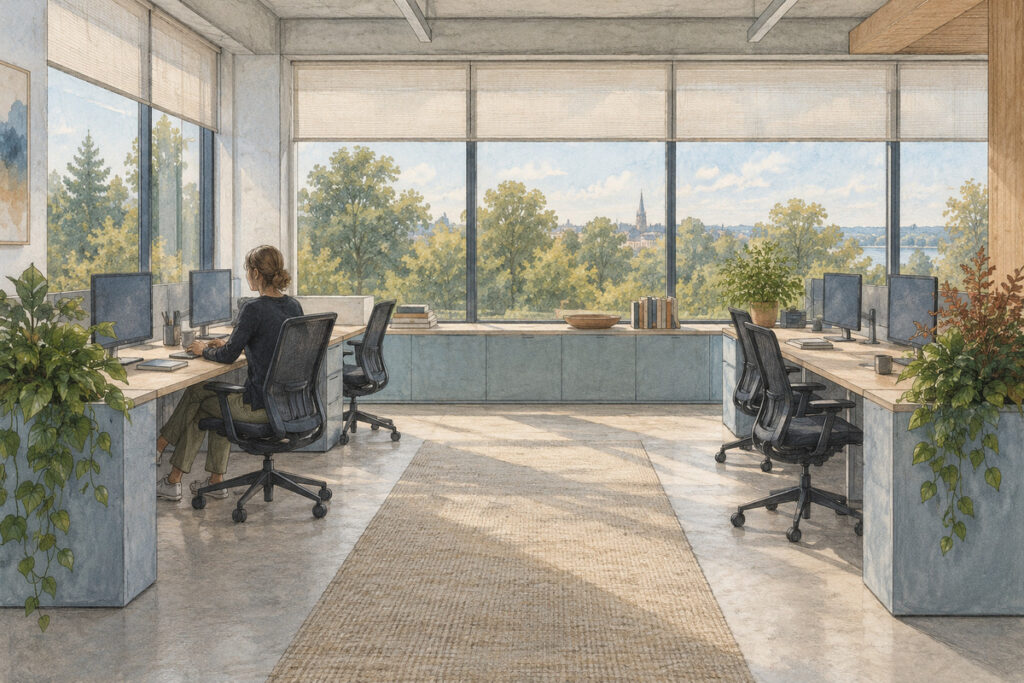
Design example: Low storage and planting at desk ends leave the window views visible across the work area.
Review desk orientation, shades, and monitor positions together. Screens set at right angles to the windows usually catch less glare, but check reflections on site and leave fixtures and controls to the office lighting plan. Check sightlines seated as well as standing, since a planter that looks modest from the aisle can block a seated colleague, and leave room to water and replace plants without moving a desk group.
Break Areas: A Place to Sit Near Nature
Set a small lounge or shared table where people can look out a window or at a planting arrangement, turn the seats toward it, and keep the coffee-counter line out of that view.
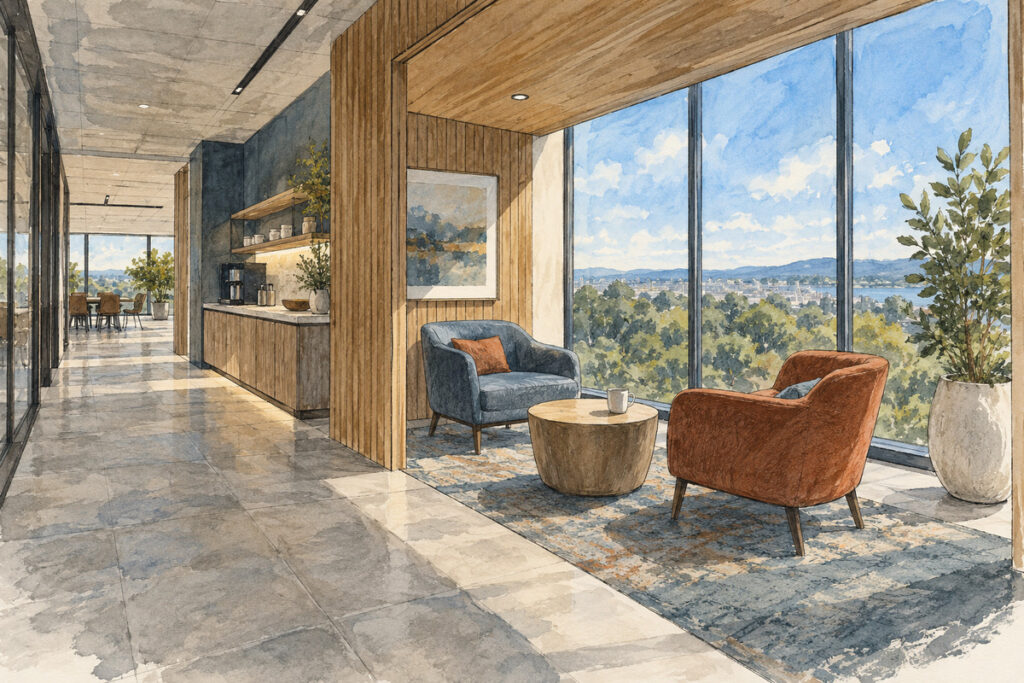
Design example: Lounge seating faces the window, while a separate planter marks the edge of the aisle.
A freestanding planter can mark the lounge edge along the aisle if it clears foot traffic, chairs pulling out, and storage doors, and it’s easier to maintain than greenery built into a fixed bench. A living wall is a bigger commitment: have the specialist define plants, light, irrigation, drainage, wall protection, and maintenance access before the surrounding millwork is approved, and keep its installation and care outside the interior design scope.
Lock the Material Palette, Then Test It in 3D
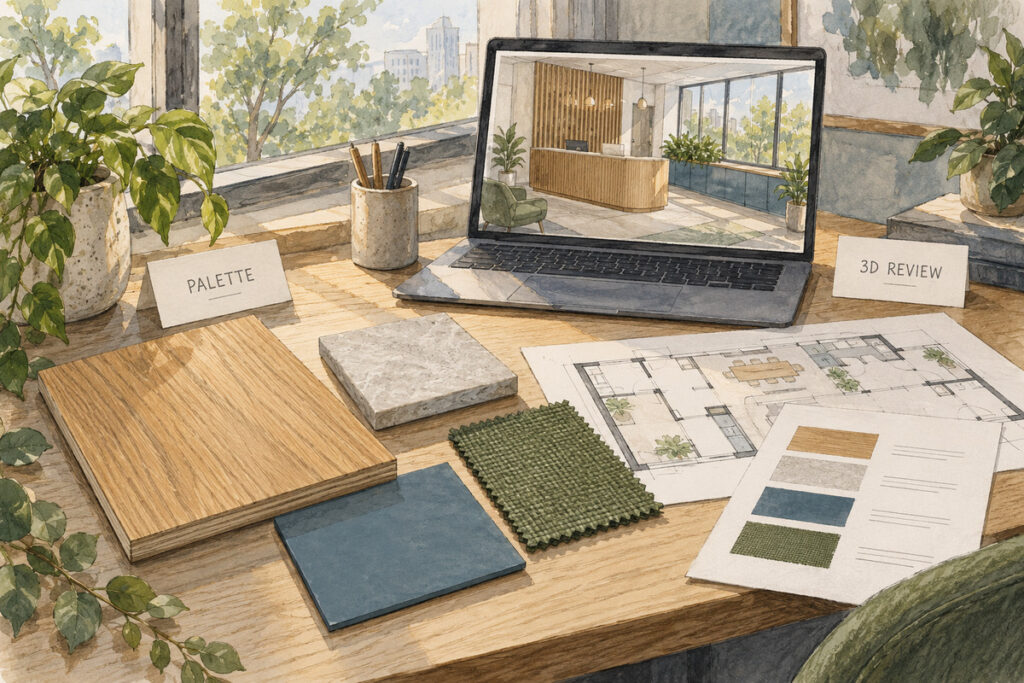
Pick one dominant natural finish, such as an oak veneer reception wall, and judge every neighboring surface against it with real samples in the space. A strong grain wants a quieter floor and simpler cabinet fronts, and an existing wood floor may call for painted casework or restrained stone instead of another wood tone. For each product, record material, dimensions, finish, edges, and sample approval, state whether a wood surface is solid timber, veneer, or a wood-look finish, and get documentation for commercial use and cleaning.
Then settle open questions in 3D design reviews with fixed camera angles: full wood wall or smaller panel, low storage or tall cabinets from a seated view, planter by the window or along the aisle. Renders settle visual relationships only; daylight performance, plant growth, installation details, and code requirements need their own review.
Turn the Approved Scheme Into a Selection and Quotation Brief
Procurement can only price what’s clearly described, so organize approved selections by zone and tie each to the current drawings. For every item, list:
- Product code or reference, location, and quantity
- Dimensions, material, color, finish, and edge or hardware details
- Sample approval, custom requirements, and commercial-use documentation
- The drawing or 3D view that shows it
- Open decisions, pending substitutions, and who owns them
Put planting and specialist systems on separate lines with their own supply and maintenance owners, and have every vendor state what a price includes (products, customization, installation, freight) before you compare bids. At GEORGE Design Studio, the approved 3D scheme is where real-product selection and supply planning start. To scope your office, open a project brief with the floor plan, site photos, budget range, timeline, what you’re keeping, and any requirements from an existing design team.
Biophilic Office Design FAQs
Can You Use Biophilic Design in a Windowless Office?
Yes. Natural materials, nature-inspired patterns, and spatial choices still connect the room to nature. Living plants are a separate call: they need adequate light, which may mean specialist grow lights, and a bright rendering is no proof the room will support them.
Can Wood-Look Finishes Be Part of a Biophilic Office?
Yes, as a visual reference to nature, provided it’s described accurately. Compare physical samples with the surrounding materials, and never list a printed wood pattern as real timber in specs or quotes.
Can You Introduce Biophilic Design in Phases?
Yes. Set the overall direction first, then start with changes that stand on their own, such as loose furniture, freestanding planters, or a reception finish update, and save partitions, built-in casework, and specialist systems for later phases. One approved palette and selection record keeps every phase pointing the same way.