Guests rarely get lost in a straight corridor. They get lost where the building makes them choose: stepping out of an elevator, reaching a corridor split, or heading back from their room to somewhere new. Good hotel wayfinding design finds those moments on the plan and decides what a guest needs to read at each one; finishes, lighting, and fixing details come later.
This article covers indoor public areas, elevator halls, and guestroom corridors; parking, outdoor paths, and routes between resort buildings need their own plan.
Map the Guest Route Before Choosing Signs
The cheapest wayfinding fix happens on paper: mark a guest’s start and destination on the latest floor plan and trace the trip both ways. The return trip is the one people forget, because a sign that faces guests stepping out of the elevator is behind them on the way back.
As you trace, flag false choices, like a vending alcove or a back-of-house door that reads as a corridor, and have the project team confirm the route works for guests who need an accessible path. If a check-in queue or lounge seating blocks the way, fix the lobby layout rather than signing around it.
Identify Where Guests Need a Direction or Confirmation
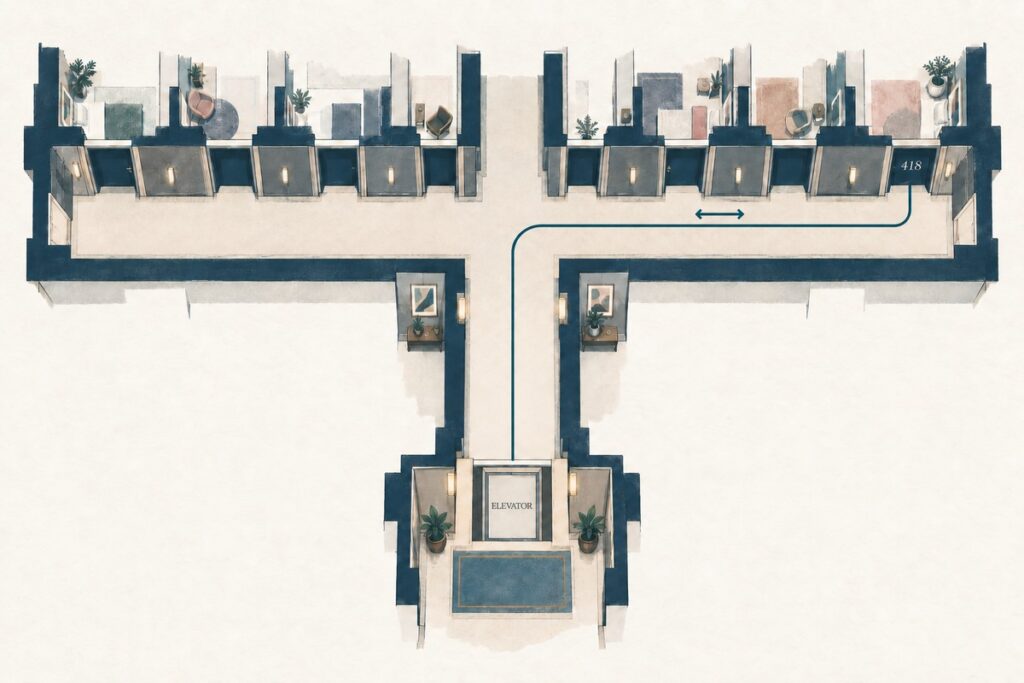
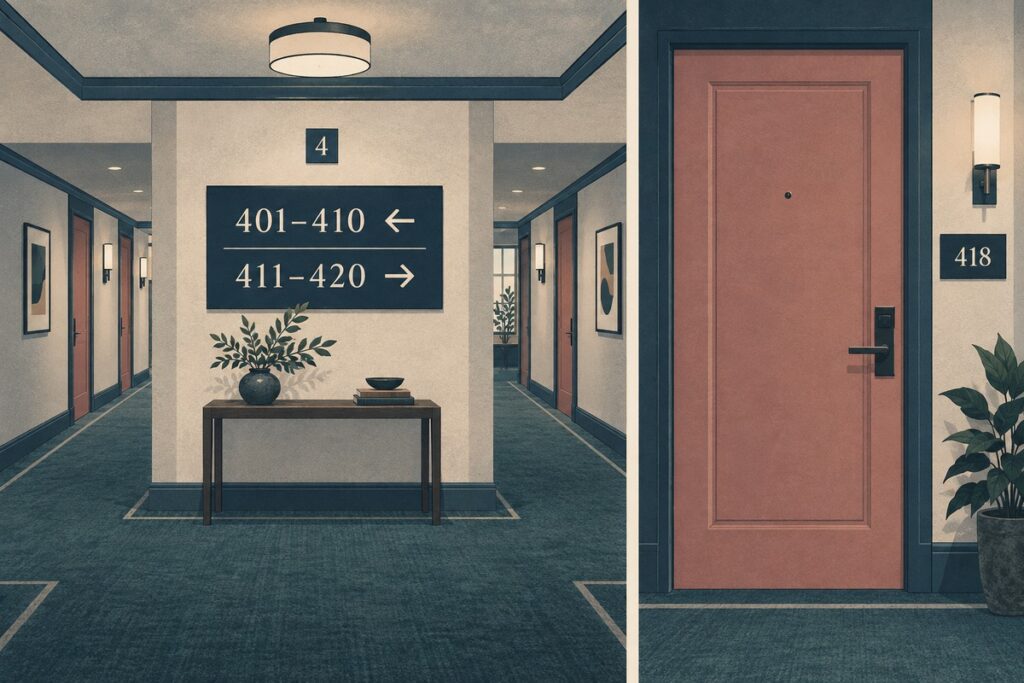
Follow one guest and the decision points show up fast: say they leave the elevator on Level 4, find Room 418, then head back down to the restaurant on Level 1 (an illustrative route, not a GEORGE project). Some points need a direction, like a room-number range; others only confirm arrival, like the number on a door. Either way, information has to come before the choice, so the guest knows the restaurant is on Level 1 before pressing the elevator button.
| Point on the Route | What the Guest Is Asking | What the Sign Needs | What to Check in the Space |
| Level 4 elevator hall | Which way is Room 418? | Floor number, room-number ranges, and arrows | Seen first from every elevator door, not blocked by a column or artwork |
| Corridor split | Do I turn here? | A range and arrow for each branch | Visible before the split, not only once you’re in it |
| Room 418 door | Is this my room? | The room number | Contrast with the door finish; still visible with the door open |
| Walk back to the elevator | How do I get to the restaurant? | Elevator direction, restaurant name, and Level 1 | Visible from the corridor, so the floor is known before boarding |
| Level 1 elevator exit | Which way now? | Restaurant name and arrow | Signs for other facilities competing for attention |
| Restaurant entrance | Am I here? | The same restaurant name used all along | Recognizable on approach, not hidden by the host stand or open doors |
Swap in the hotel’s real destinations and numbering before counting signs, and don’t assume every point needs one. Add reassurance signs only where the corridor ahead still looks ambiguous, and save full directories for the main elevator lobby, where guests compare several destinations.
Decide What Each Sign Needs to Say
A well-placed sign with the wrong words still sends guests the wrong way. Keep every message in one schedule, one row per sign with an ID, location, exact wording, floor reference, and arrow; the ID ties plan, elevation, artwork, and comments together and ends the “which sign do you mean?” emails. Have the operator approve names and room-number rules before production, then check each range against the plan, since “Rooms 401 to 420” fails if a few of them sit in another wing.
Venue names drift between departments: if the front desk says “The Terrace” and the corridor sign says “Dining,” some guests will walk right past it. Use one name everywhere, adding a descriptor like “The Terrace Restaurant” when the name alone is unclear. Arrows only make sense from where the guest stands, so opposite approaches may need different artwork, and near a staircase an up arrow meant as “straight ahead” gets read as “go upstairs.”
Check Sign Locations Against the Interior
On paper every sign is visible. In a finished corridor it competes with everything around it, so review each position in context, using the real wording from the schedule instead of a placeholder box.
Reviewing Sightlines in Plans and 3D Views
Set up 3D views from each elevator door, corridor approach, and destination entrance at standing and seated eye height. Then add anything that could block a sign where it will really sit: a column, an adjacent sconce, a lounge chair, a parked housekeeping cart, an open door. Room numbers depend on the door style and frame, and a concealed door or patterned panel may leave no clean surface, so settle the detail on one door before repeating it down every corridor.
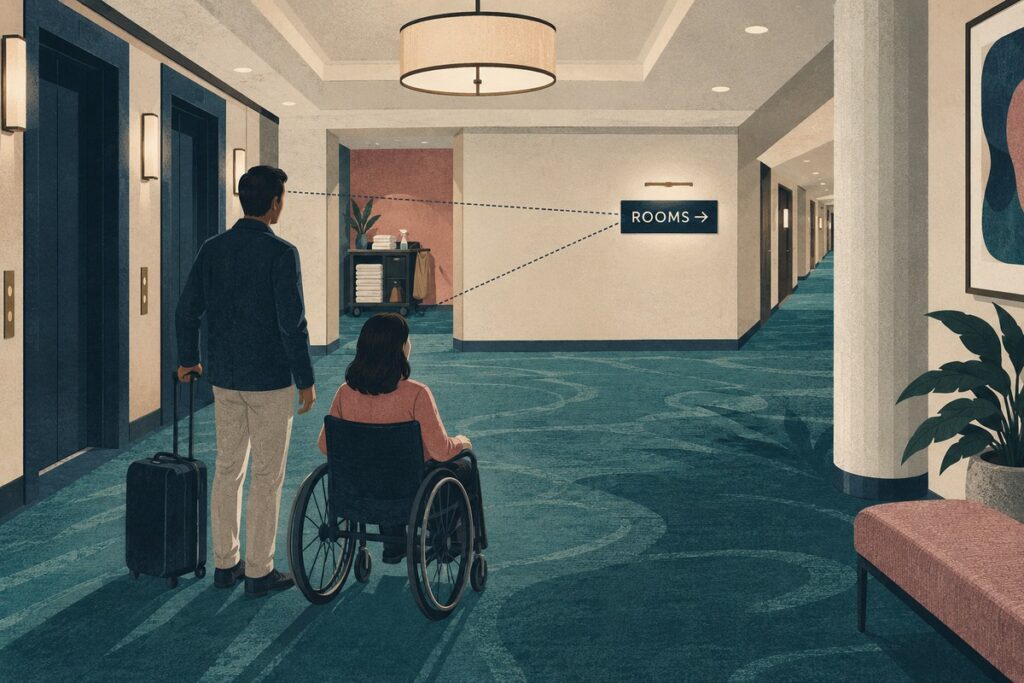
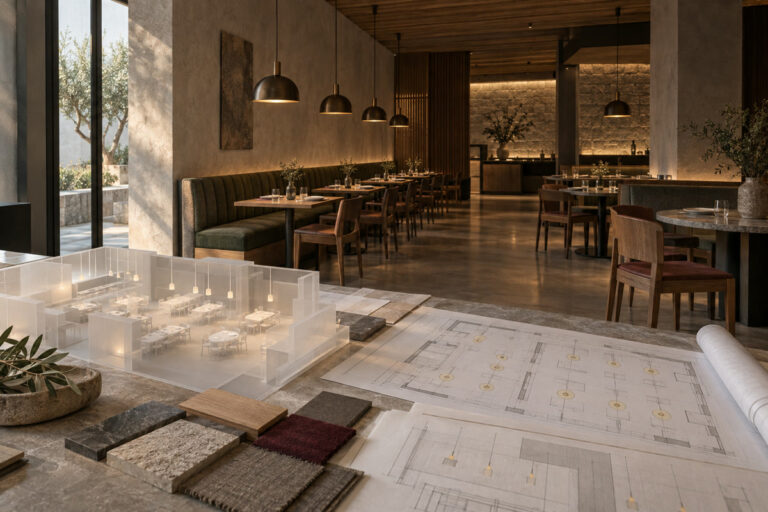
In our 3D interior design work, sign positions can sit in the same model as the finishes and furniture when they’re in scope. A render shows whether a sign can be seen, not whether it can be read in real light, how guests react, or whether it meets code; those take a lighting assessment, a mock-up, a walk-through, and professional approval.
Checking Full-Size Samples in the Space
Before ordering the full run, hang one full-size sample in place and read it from where guests stand; corridors are often lit low on purpose, which is exactly when a bronze number on dark walnut disappears. If the space isn’t finished, note which checks must wait for site. At the review, check:
- Whether the wording and arrow read clearly from the intended spot
- How the face sits on the real wall finish, including pattern and downlight glare
- How it reads in every lighting scene, especially the dimmest
- How it’s fixed, cleaned, and replaced, confirmed with the supplier and installer
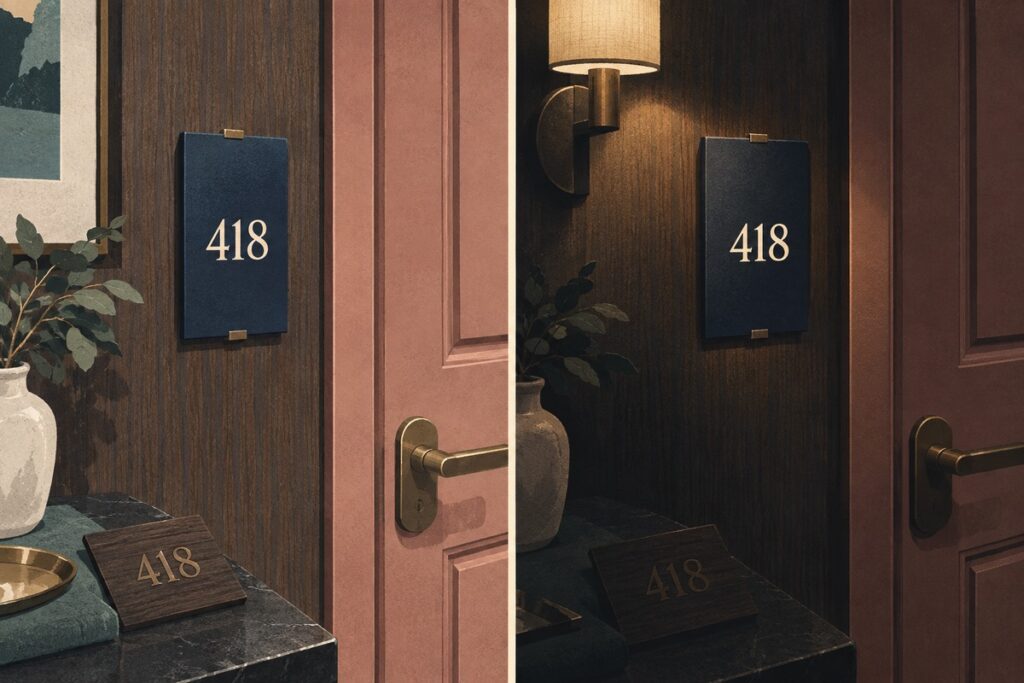
Record the approved material and finish against that sample and its assembly drawings, then have qualified local professionals confirm character sizes, mounting locations, tactile text, Braille, and fire and egress requirements. The U.S. Access Board’s guidance, for example, treats permanent room signs differently from directional ones, so no single mounting or lettering rule covers every sign or jurisdiction.
Prepare the Signage Handoff
Many signage errors on site start as one drawing that missed a revision. Issue the location plan and message schedule together under matching sign IDs and revision dates, and carry every approved change through each drawing and artwork file. Include:
- A location plan with sign IDs, orientation, and approach direction
- A message schedule with approved names, room ranges, floor references, arrows, and languages
- Elevations and details showing placement, nearby doors, lighting, wall joints, and fixing surfaces
- Material and finish requirements, approved sample references, and supplier documents
- Installation conditions, open site checks, and access or sequencing limits
- A named owner for message approval, artwork, technical review, fabrication, installation, and final checks
Before release, have the operator walk the route on paper and log questions by sign ID; after installation, walk it with someone new to the building, fix the signs where they hesitate, and update the drawings to match. If you’re planning a renovation or new build, send us the plans and destination list with your room-number rules, brand standards, site photos, and, for an operating hotel, the spots where guests already get lost. We cover the interior and 3D scope, finishes, and project supply; specialist signage design, fabrication, installation, and code compliance are confirmed separately.
FAQs
Can Existing Signs Be Reused During a Hotel Renovation?
Sometimes, but check each one against the revised layout for message, condition, placement, and current requirements. The risky ones look fine: a restaurant that kept its name but moved across the lobby leaves a perfectly good sign with the wrong arrow. Sort everything into keep, move, replace, or remove, and recheck at each phase, since temporary routes create new dead ends.
How Should Hotels Plan Multilingual Signage?
Let the guest profile, the operator, and local rules decide the languages, and have a qualified reviewer check every translation, especially venue names, which often shouldn’t be translated at all. Keep the language order consistent, mock up the longest message at full size before fixing the sign width, and move secondary text to printed guest information if it crowds the direction.
What Should Change When a Facility Temporarily Closes?
Change the directions where guests would commit to the closed route, not only at its entrance, and name any alternative the same way along the whole new path. Give every temporary sign an operations owner and a removal date, or it will still be up months later; anything affecting accessible routes or egress needs professional review.