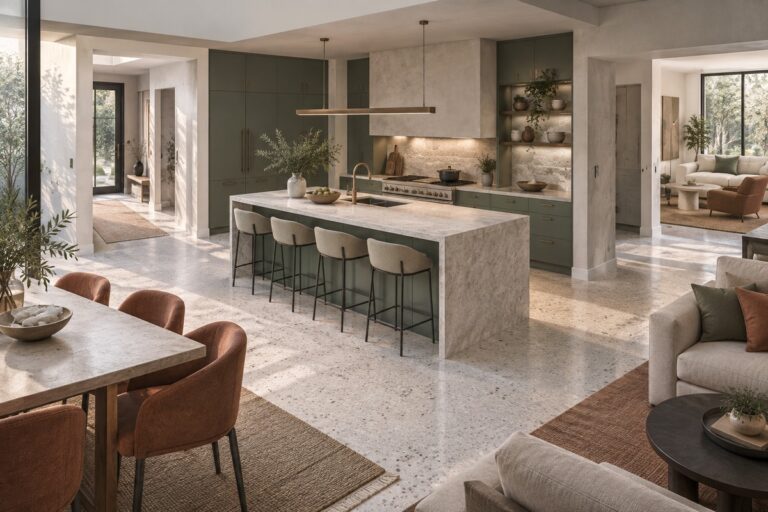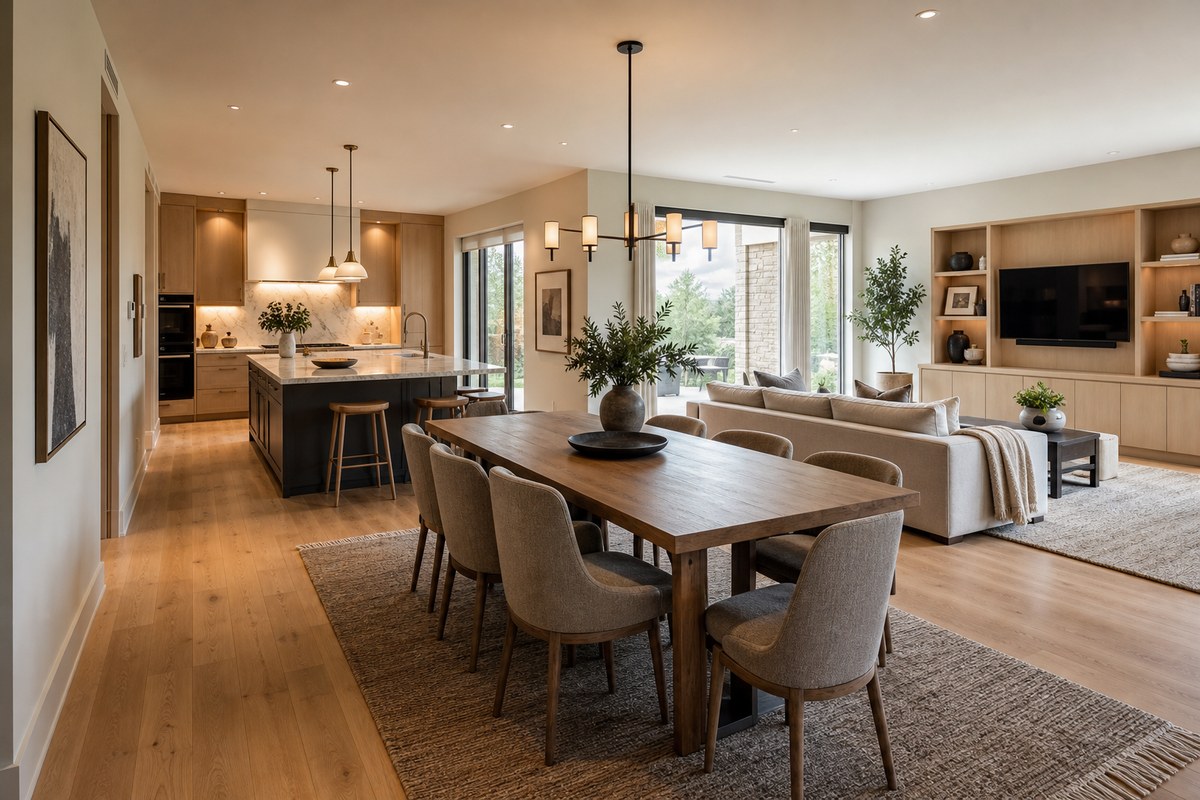
To plan an open-concept kitchen and living room, set the cooking, dining, and living zones first. Then test the scaled plan with occupied seats, open appliances, and the routes between entrances and adjoining rooms.
The final layout should keep through traffic outside the cooking zone while preserving visual connection. Resolve structure, utilities, ventilation, storage, lighting, and furniture before construction, with qualified local professionals verifying permits and code compliance.
What Should You Assess Before Planning the Space?
Assess household routines, room dimensions, structure, and utilities before placing an island or sofa. These conditions determine what can fit and what would be costly to change.
Cooking, Relaxing, and Entertaining Priorities
Rank daily cooking, dining, relaxing, homework, television, pet care, and outdoor access before assigning floor area. Record who uses the room, when activities overlap, and what must stay within reach. A household that cooks together needs more shared preparation space, while regular television viewing requires glare control and a suitable viewing distance.
Decide how much of the kitchen should remain visible. Screening the sink, small appliances, or cleanup area affects island height, seating direction, storage, and movable partitions. A broader residential interior design plan can coordinate these choices with nearby entries, bedrooms, and outdoor areas.
Room Dimensions, Openings, and Fixed Conditions
Measure the room from finished surface to finished surface, checking dimensions at floor level, counter height, and ceiling level. Mark the following conditions on the plan:
- Wall lengths, ceiling heights, floor changes, and corner conditions
- Door swings, window operation, trim, and adjoining passages
- Columns, beams, stairs, fireplaces, radiators, and utility points
- Daylight, glare, retained furniture, occupied chairs, and recliner movement
Allow for the thickness of flooring, wall finishes, and cabinet panels. The plan should show whether an island, sectional, or second seating area is too large.
Structural Feasibility and Utility Locations
Confirm which walls, posts, beams, and floor areas may be changed. A thin wall without plumbing may still carry structural loads. A local architect, structural engineer, or qualified contractor should determine whether removal requires a beam, posts, foundation work, or a permit.
Plot water, drainage, gas, electrical, and ventilation routes before fixing the kitchen position. Existing utilities may control cost, but an awkward sink or range location can weaken the layout. Select the cooking appliance and hood together. Show the duct route, exterior termination, and any structure it crosses. Appliance instructions and local mechanical rules control the final system.
How Should You Zone an Open-Concept Kitchen and Living Room?
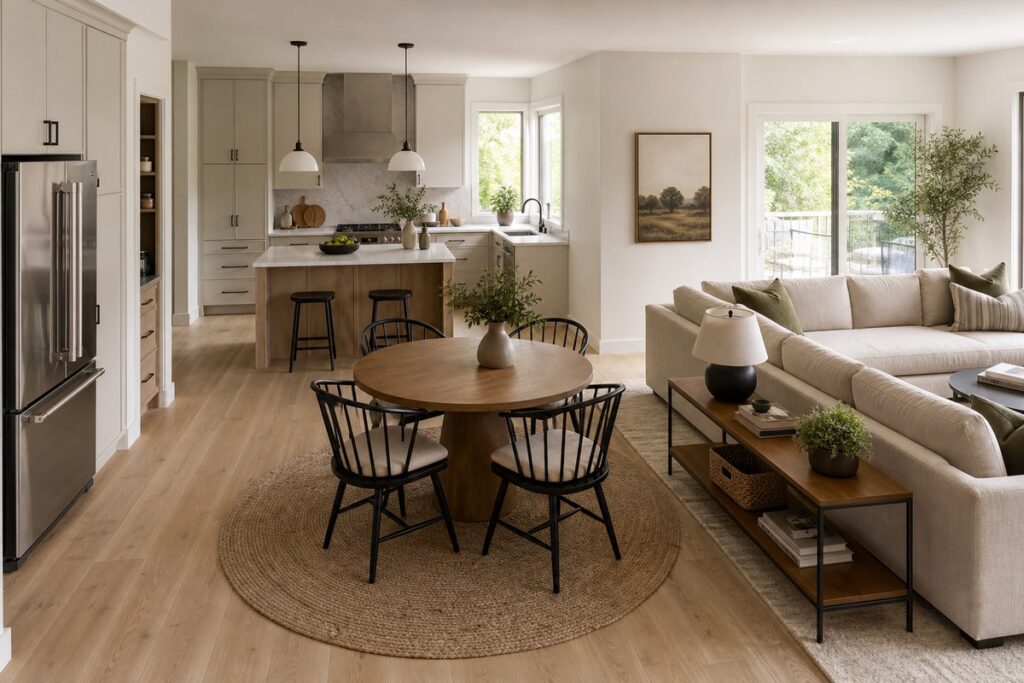
An open-concept kitchen, dining, and living room needs distinct activity zones with enough space to function independently.
Positioning the Kitchen and Living Zones
Place the kitchen where utilities and outdoor exhaust work without sending household traffic through the preparation area. Reserve uninterrupted space for living-room seating, media, and storage.
Room shape determines the arrangement. In a small house, an open-concept kitchen and living room needs one clear route and properly scaled furniture. A long, narrow room may suit a galley kitchen layout that protects the work aisle. A wide room may use dining as a buffer. Keep the refrigerator, pantry, drinks, and everyday dishes near the kitchen edge so household members can reach them without entering the work zone.
Defining Zones With Islands and Furniture
Use an island, peninsula, dining table, sofa, or console to mark boundaries after each piece passes the clearance test.
| Zoning element | Typical use | Main issue to test |
|---|---|---|
| Island | Adds preparation space, storage, or casual seating between zones | Work aisles, open appliances, occupied stools, and hood or lighting coordination |
| Peninsula | Defines the kitchen when the room cannot support circulation around an island | Access at the open end and possible traffic concentration |
| Dining table | Creates a flexible buffer between cooking and living | Chair pullout space and the main path through the room |
| Sofa or sectional | Establishes the living footprint without construction | Walkways behind and beside the seating, plus the view from the kitchen |
| Console or low cabinet | Adds light visual separation and storage | Overall depth, outlet access, and tipping protection where required |
Size an island around work aisles, appliance openings, seating, and circulation. A smaller island can work better than one that narrows every path. If clearances fail, use a table or peninsula instead.
Setting Sightlines and Focal Points
Choose the main view from the entrance, sofa, dining seats, and kitchen work area. A fireplace, window, artwork wall, or media wall can lead the living zone, while integrated storage keeps the kitchen quieter.
Do not trade cooking function for a centered view. A range needs landing space, effective exhaust, and a practical duct route. An island sink faces the room but puts dishes and splashes in the main sightline. A scaled plan and elevations check fit, while 3D interior design helps compare eye-level views. Dimensioned drawings and verified product data should control construction.
How Do You Plan Circulation and Clearances?
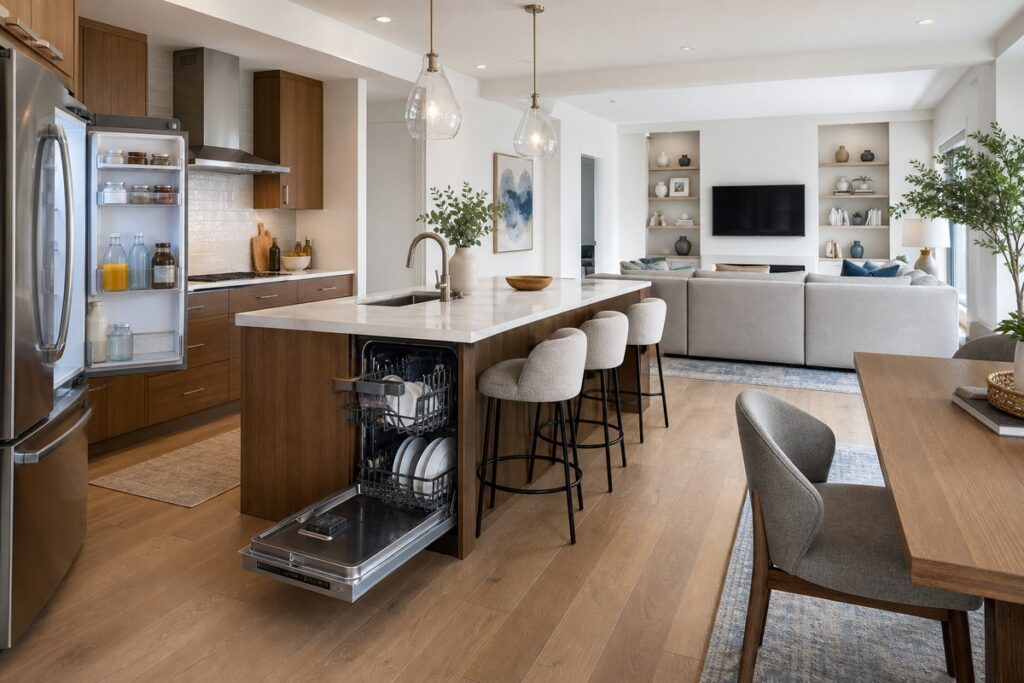
An open-concept kitchen and living room floor plan should show every regular route with chairs occupied and appliances open.
Mapping Paths Between Entrances and Adjoining Rooms
Draw paths from each entrance to the kitchen, living area, dining area, stairs, hallway, bathroom, and outdoor door. Test them while carrying groceries, serving food, or moving laundry. A regular route should not cut through the work area, pass between the sofa and television, or squeeze behind occupied stools. Widen busy crossing points or move the furniture boundary.
Keeping Household Traffic Outside the Cooking Zone
Place the refrigerator, snack storage, drinks, and dining access at the kitchen edge when possible. Household members can then reach them without crossing the cook’s route between preparation, sink, and range. Face island seating toward the living or dining side. If traffic must cross the kitchen, keep the conflict short and provide another route around the work zone.
Checking Island, Seating, Appliance, and Furniture Clearances
Check clearances from the farthest-projecting finished face, including counters, appliance handles, furniture backs, and occupied chairs. Common NKBA planning guidance uses at least 42 inches between opposing work surfaces for one cook and 48 inches for multiple cooks. These are planning recommendations, not universal code minimums. Selected appliance instructions, accessibility needs, site conditions, and locally adopted rules may require a different result.
| Condition | Planning starting point | What must remain usable |
|---|---|---|
| General walkway | At least 36 inches | A person can pass without entering a work aisle |
| Work aisle for one cook | At least 42 inches | Cabinets and appliances on opposing sides |
| Work aisle for multiple cooks | At least 48 inches | Two people can work without blocking each other |
| Space behind a seated diner with no passing traffic | At least 32 inches | The occupied chair |
| Space behind a seated diner for someone to edge past | At least 36 inches | The occupied chair and limited passage |
| Space behind a seated diner for walking traffic | At least 44 inches | The occupied chair and a regular path |
Draw oven, dishwasher, refrigerator, cabinet, and patio doors fully open. Add the person using each appliance and check for collisions. Use each model’s installation information because nominal width does not establish opening, ventilation, or service space. Apply the same test to recliners, tables, lamps, media consoles, and routes behind the sofa.
How Do You Complete and Validate the Open-Concept Design?
Coordinate finishes, lighting, ventilation, acoustics, storage, furniture, and technical drawings before demolition, cabinet production, or furniture orders begin.
Connecting Materials and Colors Across the Space
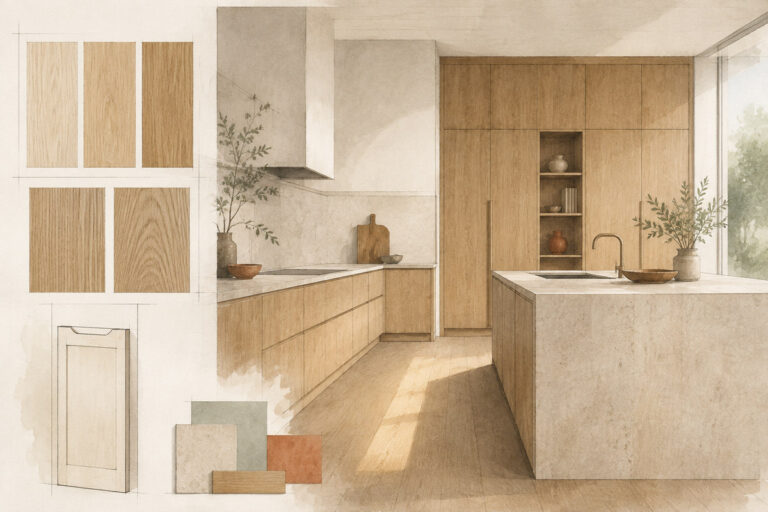
Choose paint colors for an open-concept kitchen and living room as part of one palette. Organized kitchen showroom displays can help compare cabinet fronts, countertops, hardware, and lighting together. Check samples under the home’s daylight and evening lighting because screens can distort undertones, gloss, texture, and scale.
Repeat a limited number of wood tones, metals, or shapes. The choice among kitchen cabinet styles should follow the same visual direction as the living-room millwork and furniture. Kitchen surfaces must suit heat, moisture, cleaning, and food preparation, while softer finishes belong in lower-wear living areas.
Layering Task, Ambient, and Accent Lighting
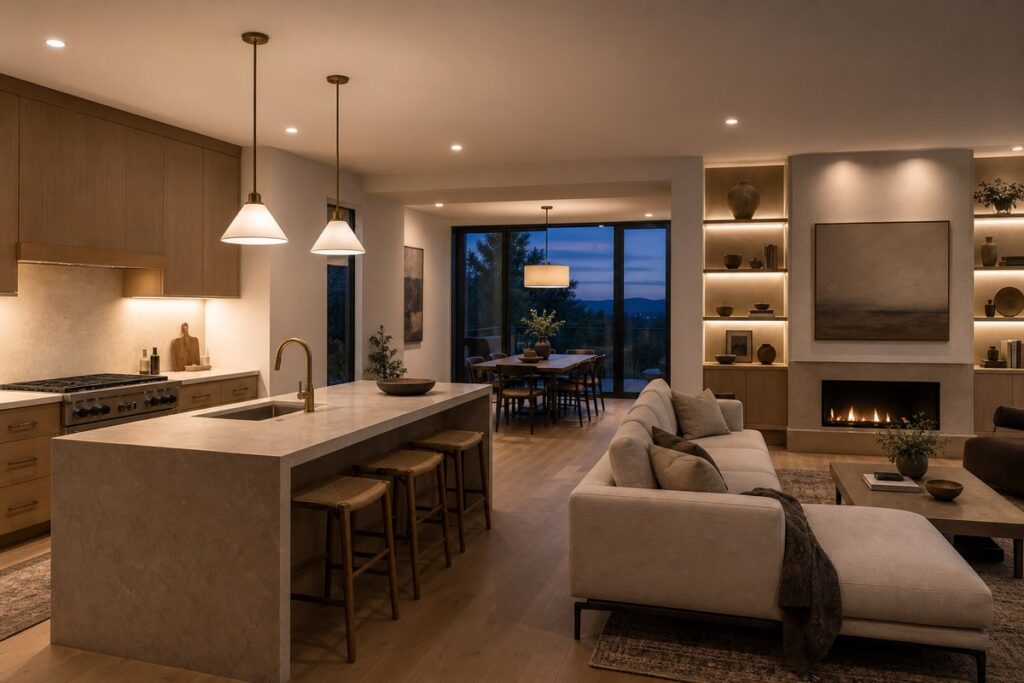
Place task lighting over work surfaces, ambient lighting along circulation routes, and accent lighting on selected features. Task light should fall in front of the person using the counter. Coordinate island pendants with the hood, ceiling beams, sprinklers where present, and sightlines. Divide controls by activity so the kitchen, dining area, and television zone can use different light levels. Coordinate outlets, appliance circuits, cabinet lighting, floor outlets, and local code requirements on the electrical plan.
Managing Ventilation, Cooking Odors, and Noise
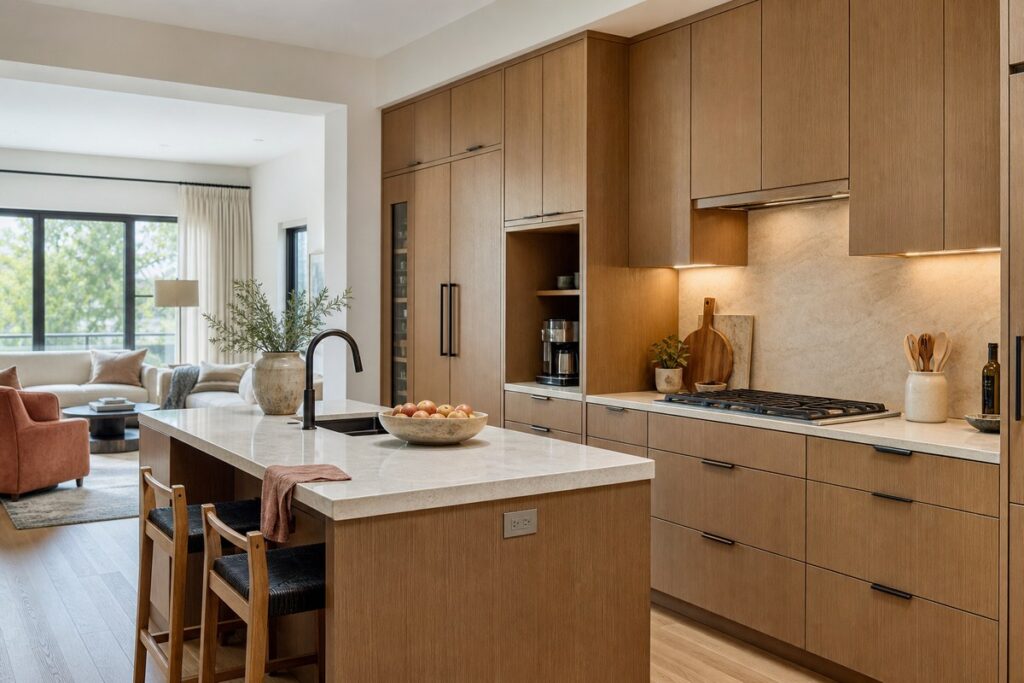
Effective cooking exhaust matters more when no wall separates the kitchen from the living room. Choose the appliance and hood together. Confirm hood coverage, mounting position, airflow, duct size, allowable length, exterior termination, and any replacement-air requirements. High airflow cannot correct an undersized hood, poor placement, or a restrictive duct.
Manage noise at the source. Compare appliance sound data where available, and keep the sink and dishwasher away from the main conversation area when the layout permits. Isolate rattling panels or loose hardware. Soft finishes may reduce reflected sound, but they do not replace suitable equipment and construction details.
Planning Storage to Limit Visible Kitchen Clutter
Inventory household items before assigning cabinets. Place cookware near the range, waste near the preparation area, dishes near the dishwasher, and food near the refrigerator or pantry. Small appliances need accessible power and any required ventilation. Cabinet construction affects opening width and pullout access, so the differences between framed and frameless cabinets matter in narrow units, wide drawers, and island storage.
If kitchen storage is sufficient, the island can hold serving pieces, games, or dining supplies. Add a drop zone for mail, charging, keys, bags, and children’s items so they stay off the preparation counter.
Reviewing the Complete Plan Before Construction
Bring the room, cabinets, appliances, furniture, lighting, utilities, ventilation, and openings into one coordinated plan. Separate drawings can assign the same space to incompatible items. Before approval:
- Verify field dimensions, finish thicknesses, and material transitions.
- Test doors, drawers, appliances, pullouts, occupied seats, circulation routes, and sightlines in use.
- Coordinate appliance requirements with electrical, plumbing, gas, ventilation, lighting, structure, and ceiling elements.
- Assign responsibility for site verification, permits, regulated design, fabrication, installation, and final inspection.
The household should review the drawings before construction professionals complete their checks. The room concept and 3D views from George Design Studio can support this review. Final documents must still reflect the site, selected products, written scope, and locally adopted requirements.
Frequently Asked Questions
Should You Choose a Fully Open or Semi-Open Kitchen and Living Room?
Choose a fully open layout when views and social connection take priority. Choose a semi-open layout for more control over cooking mess, odors, or noise. A peninsula, partial wall, wide opening, or sliding panel can preserve connection while screening the kitchen. Base the choice on cooking habits and circulation.
How Does an Open-Concept Layout Affect Heating and Cooling?
An open-concept layout changes how air and heat move through the main floor. Performance depends on room volume, windows, insulation, solar exposure, equipment, and duct placement. A vaulted ceiling may produce uneven temperatures near glazing or at upper levels. Ask an HVAC professional to calculate the loads and review supply, return, zoning, and air mixing before selecting equipment.
How Can an Open-Concept Kitchen and Living Room Work for Families With Young Children?
An open-concept room can support supervision when the play or homework area is visible from the kitchen, but visibility does not remove hazards. Keep children outside the work aisle and away from the range, oven, knives, hot serving areas, and exterior doors. Add age-appropriate locks, outlet protection, secured furniture, or stair gates where needed.
Do You Still Need a Separate Quiet Room With an Open-Concept Main Floor?
A separate quiet room helps when work, study, gaming, music, or rest conflicts with cooking and television noise. A small room with a closable door can provide separation that furniture cannot. If no room is available, place a secondary work area away from the kitchen and use scheduling or acoustic measures.
Does an Open-Concept Kitchen and Living Room Affect Resale Value?
An open-concept kitchen and living room does not guarantee higher resale value. Buyer preferences vary by market, household type, and property style. Poor ventilation, limited storage, weak furniture placement, or the loss of a useful room can reduce appeal. Before removing walls for resale, compare local listings and ask a local real estate professional about current demand.