Work out what your galley kitchen has to store before you decide which cabinets go and which stay. Pull an upper cabinet only when everything inside it has somewhere else to live and the bare wall actually opens up a view you care about. Placement, finishes, and lighting can make a galley feel much less boxed in, but they won’t add floor space or turn it into an open-plan kitchen.
Set the Storage Priorities Before Removing Cabinets
Start with an honest list of what you keep in the kitchen, then give each group a cabinet. Fewer uppers look great on paper until the stand mixer and the stockpot end up on the only stretch of counter you prep on.
- Everyday dishes, glasses, food, and cooking tools, in the quantities you actually own today.
- Bulky things like stockpots, small appliances, and serving platters. Check them against the cabinet interiors you’re proposing, not just the cabinet widths.
- Occasional pieces, like a holiday platter or a pasta maker, that could move to a hall closet or other storage nearby.
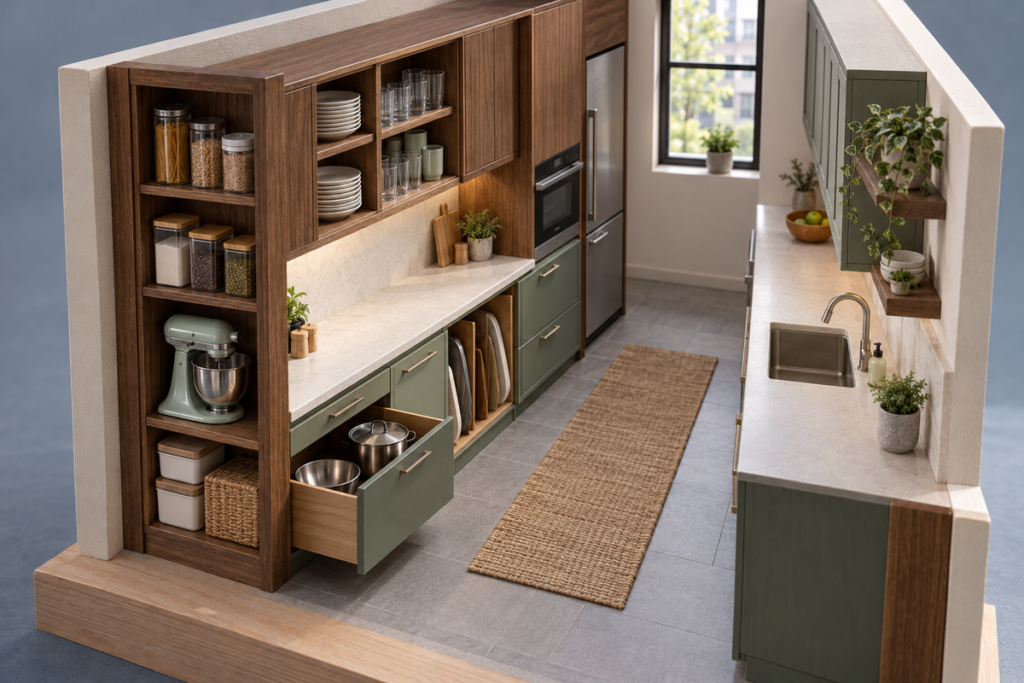
Every upper you remove needs a named replacement, and if that replacement is a tall pantry, count the counter it takes away too. Settle the galley kitchen layout first, from aisle width to appliance positions and door and drawer clearances, since every combination below assumes those positions are fixed.
Compare Complete Cabinet Combinations
Look at both walls together as one combination, and judge them from wherever you’ll notice openness most: the doorway, a dining-room opening, or a window. Elevations (straight-on drawings of each wall) make this easier, since you can see where the tall storage, the uppers, and the bare wall land in relation to each other. If you’re comparing options in 3D, keep the camera and lighting the same for each one, or you’ll end up comparing camera angles instead of cabinets.
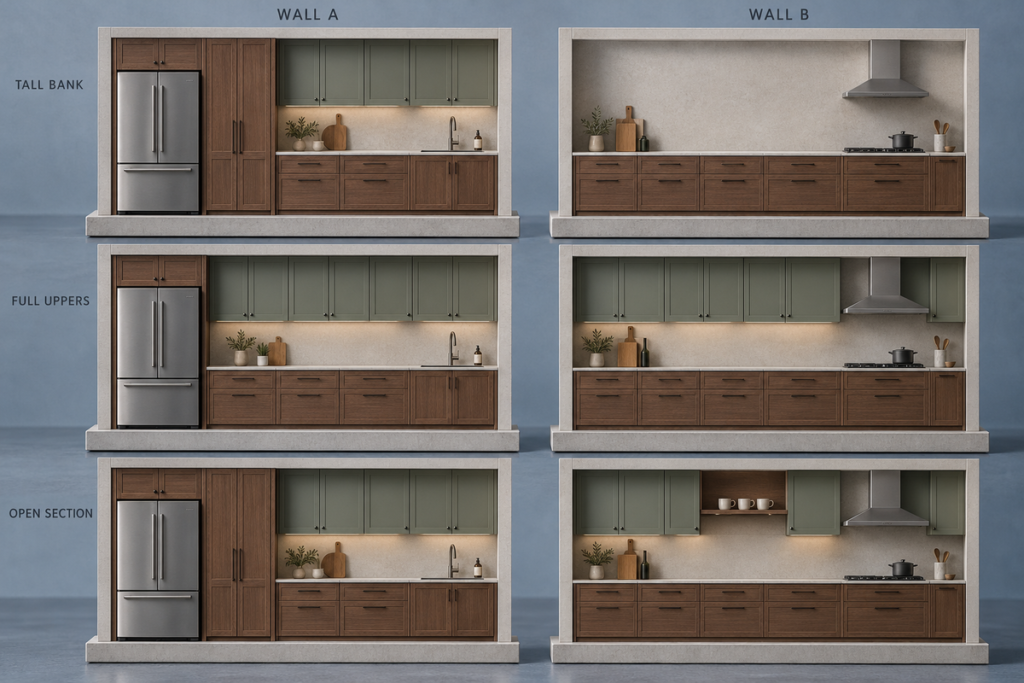
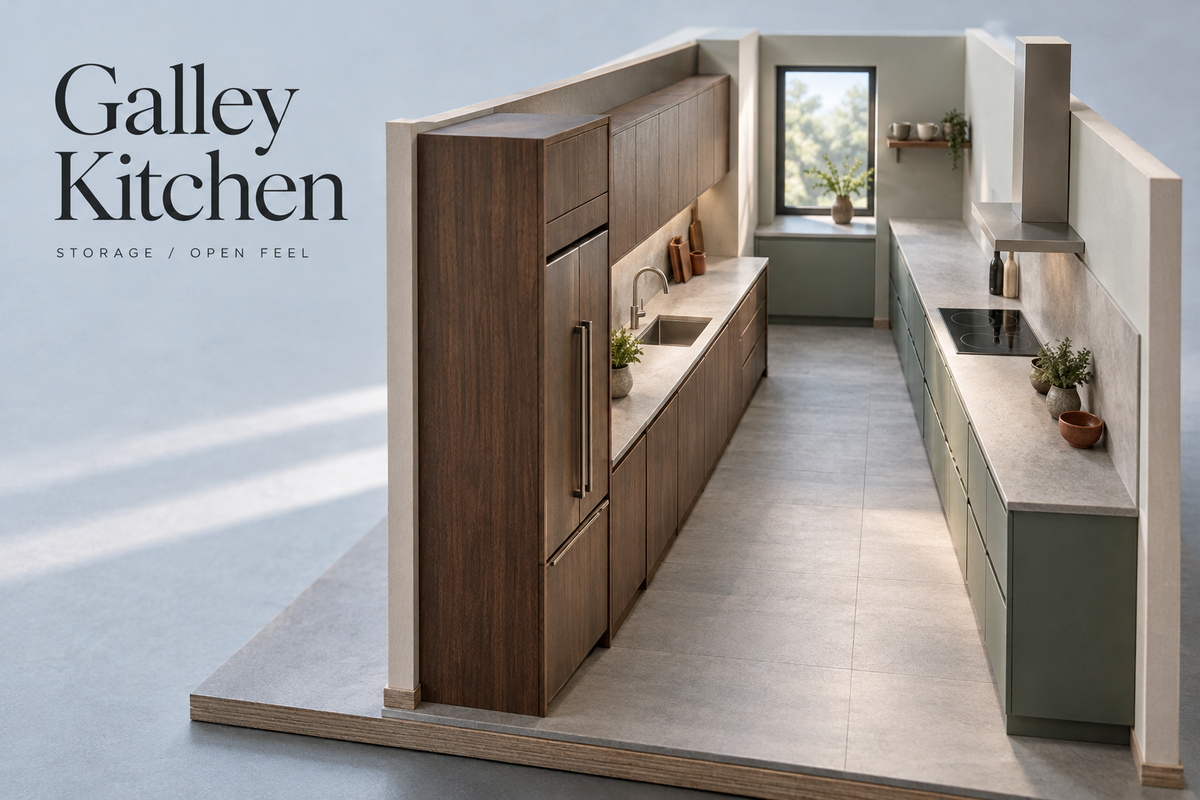
Concept elevations of the two opposing walls. Cabinet totals differ; check each against your storage inventory. Appliances are schematic. These are not measured plans or completed George Design Studio projects.
| Your Main Priority | Combination to Test First | Reason to Reject It |
|---|---|---|
| Pantry storage with one visually open side | Concentrated tall storage | The tall bank takes needed counter space or dominates the main view |
| Substantial everyday storage behind doors | Uppers on both sides | The inventory fits in a lighter scheme and the full runs feel too enclosing |
| One open sightline with mostly closed storage | A limited open section | The displaced items have no home or the shelves would become overflow storage |
Concentrated Tall Storage With a Lighter Opposite Wall
Put the pantry and the refrigerator enclosure on one wall and keep the other wall light, with base cabinets, an exposed backsplash, and only the uppers your list says you need. It’s a good fit when you want a real pantry and can live with fewer cabinets at eye level. Then look at the tall bank from your main viewpoint. If it’s the first thing you see and it blocks the view, try it in another spot the layout allows before you drop the idea.
Continuous Upper Cabinets on Both Sides
Uppers on both walls still make sense when you simply need that much closed storage, especially if there’s no good place for a tall pantry. Line up their top edges and door divisions with the real appliances and openings on each wall, and look at the runs with the doors closed. You do give up open wall at eye level. Before cutting any cabinets, see how much simpler fronts and finishes help in the next step.
Closed Storage With a Limited Open Section
A limited open section is the middle ground: keep most of the uppers and open up one stretch, like the wall people see from the dining area, with shelves or plain wall. It works when your list can spare a little closed storage and there’s one sightline you really want to improve. If you go with shelves, sketch what will actually sit on them. Shelves crammed with mugs and mixing bowls still fill the view, and they need regular dusting. Keep cereal boxes and bulky gear behind doors either way, and be honest about whether the display is worth the closed storage you give up.
Coordinate Finishes and Lighting Around the Cabinet Scheme
Pick finishes and lighting only once the cabinet plan holds everything on your list and the prep counter stays clear. If the main view still feels closed in after you’ve tried a few finishes, go back to the cabinet combination. Another finish swap won’t change how much cabinet sits on the wall.
Cabinet Mass and Door Lines
Choose which cabinets get to stand out and let the rest stay quiet. Compare light and dark colors next to your floor and countertop samples, then settle on a sheen.
- If you have a tall storage bank, try wood grain or a contrasting color up its full height. When it starts competing with the opposite wall, simplify the opposite wall.
- With uppers on both sides, shortlist kitchen cabinet styles by how their door lines repeat down both walls. Look at slab fronts and narrow Shaker doors at your actual widths, handles included. One sample door looks fine on its own; the rhythm only shows up across a full run.
- Using two cabinet colors? Give each one a job, like setting off the tall bank, rather than switching back and forth from cabinet to cabinet.
Countertop, Backsplash, and Light
With fewer uppers, the backsplash and lighting carry more of the look; with full runs, they decide whether the walls read as clean lines or a patchwork.
- Where uppers come down, try a backsplash close in tone to the countertop for a calmer wall. If patterned stone or tile is meant to be the feature, tone down the nearby door details and check how the pattern plays across the whole run.
- Where uppers stay on both walls, keep the countertop edge, backsplash boundary, and cabinet undersides at steady heights and finishes. The lines can carry through without using one material everywhere.
- For lighting, plan how the counter gets lit where uppers are gone, and check the under-cabinet lights where they stay. Look at the working counter and any glare on glossy fronts in daylight and again with the evening fixtures on, then have the lighting professional confirm fixture placement and installation.
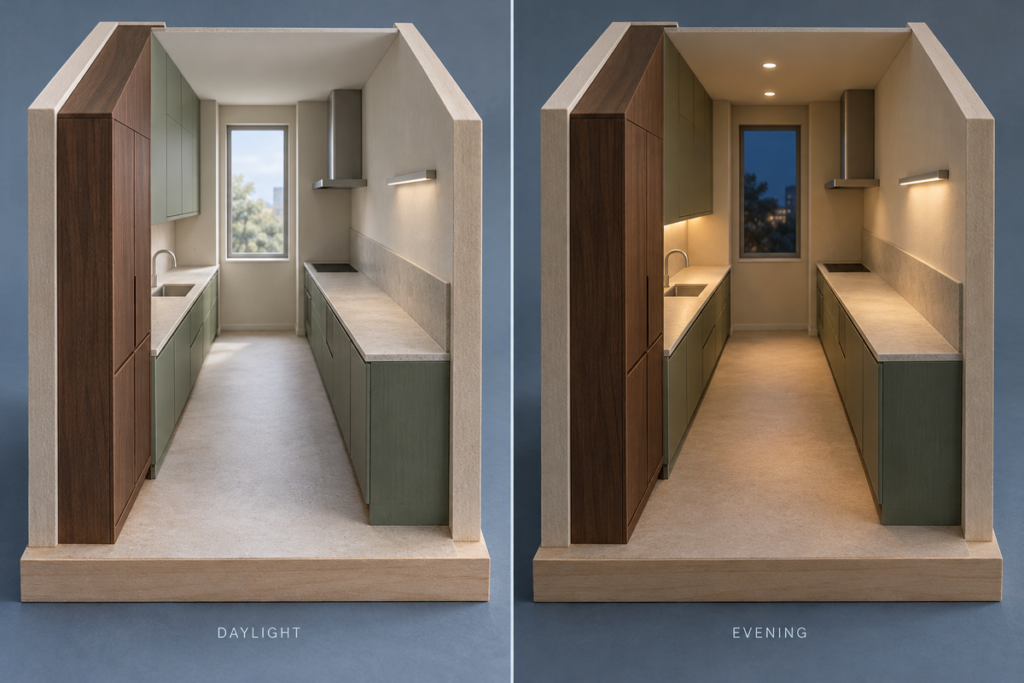
Turn the Preferred Scheme Into a Design You Can Approve
Once you have a preferred combination, approve how it looks first, then pin down the finishes and product details needed to build it.
Comparing Elevations and 3D Views
Ask for both elevations at the same scale, plus 3D views of the preferred scheme from the doorway and from your main viewpoint, with finishes applied and the countertop appliances you’ll really leave out. Elevations are good for checking heights and divisions. The 3D views show what elevations can’t: how the two walls look together from where you’ll actually stand. George Design Studio’s 3D interior design service gives you that visual check on room proportions, materials, and lighting before anyone selects products.
Confirming Samples and Product Details
Approve colors and finishes from physical samples, since colors look different on every screen. Bring the door, countertop, and backsplash samples into the kitchen together, hold the door sample upright and lay the countertop flat, and look at them in daylight and under the fixtures you plan to use. A rendering won’t stand in for field measurements, installation instructions, or construction drawings, so write down what you approved in a way the team ordering the products can match:
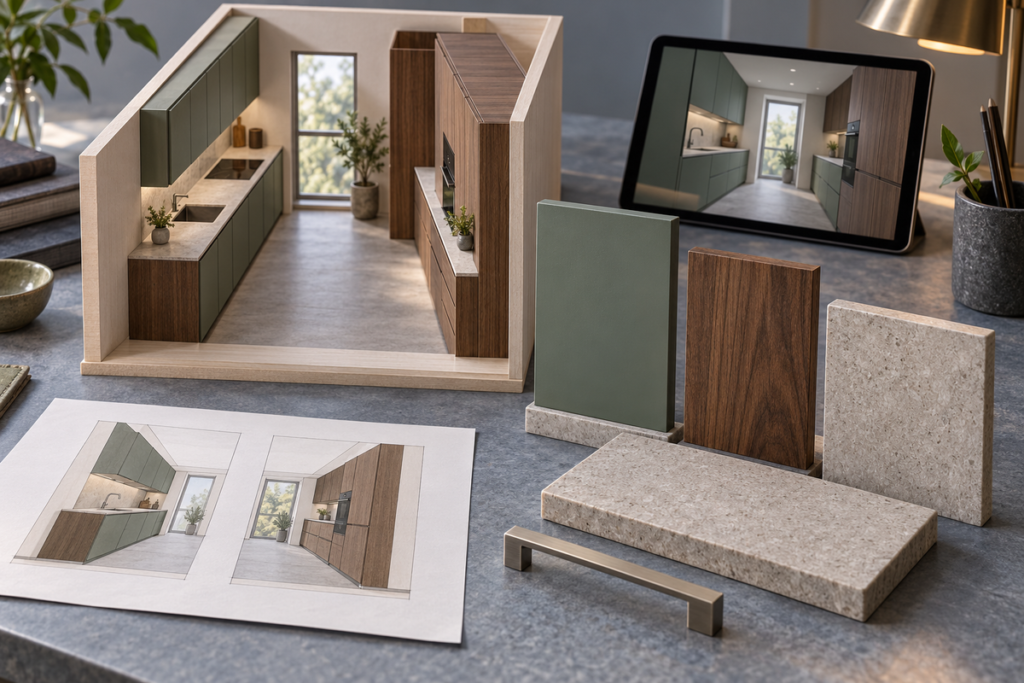
- The chosen cabinet combination and dated elevations, showing where the essential storage goes.
- Door style, finish reference, grain direction where it matters, handles, and exposed end panels.
- Countertop and backsplash selections, with the sample references you approved.
- Product names or codes, key dimensions, cabinet interiors, and appliance requirements, confirmed by whoever is responsible for each.
- Anything still waiting on confirmation, and who owns that decision.
When you’re ready, send a project brief with your floor plan, room photos, design references, storage priorities, location, and budget direction. Mention any other rooms or products in the project so design and product selection can be scoped together.
Frequently Asked Questions
Can I Keep My Existing Base Cabinets and Change the Upper Cabinets?
Yes, as long as the existing bases still work for your storage and layout and an inspection shows they’re in good shape. Draw the kept fronts and countertop next to the new uppers in one elevation to see whether they belong together, and have the cabinet supplier or installer confirm how the new uppers connect and install before you order.
What If My Preferred Cabinet Finish Is Unavailable?
Get a physical sample of the alternative and put it next to the countertop, backsplash, and nearby finishes you’ve already chosen. If it changes the contrast or grain, update the elevation or 3D material view and note the new product reference. Then reapprove that combination before ordering, because two finishes with similar color names can look quite different in person.
What Should I Do If My Household Cannot Agree on the Cabinet Scheme?
Separate what has to fit from what people want it to look like. Write down what everyone agrees must be stored, then name what’s actually left to settle, such as what sits on open shelves or how much the tall bank stands out. Compare only the options that answer that question, from the same main viewpoint.