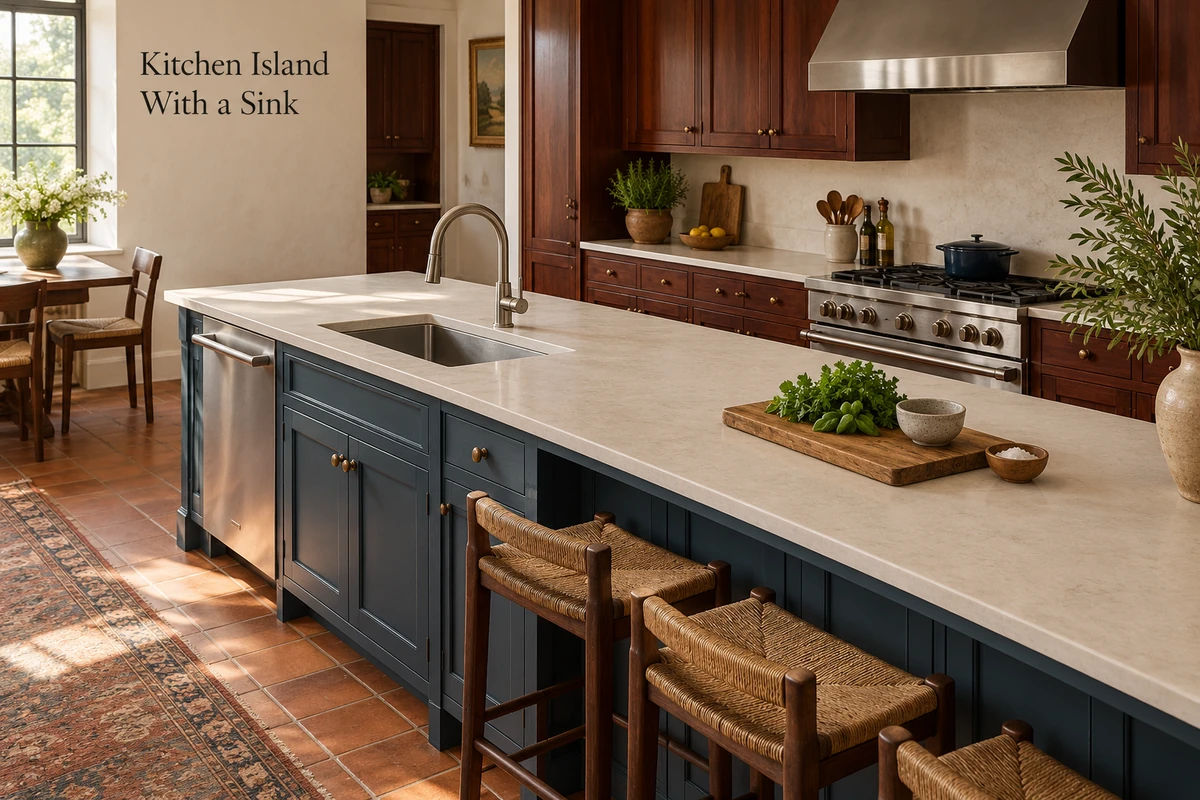
A kitchen island with a sink works when the island is where you actually prep, and it has room for washing, chopping, and loading the dishwasher without the three colliding. If you’d rather keep the island clear for eating, homework, or a buffet, leave the sink on the wall. Either way, the bowl needs real counter beside it, enough for a cutting board and a couple of pans.
To find out which kitchen you have, follow one ordinary weeknight dinner across the floor plan. Start with the grocery bags landing on the counter and finish with the last pan going into the dishwasher. A badly placed island sink usually gives itself away somewhere along that evening.
Choose the Sink’s Job Before Its Position
Decide what the island sink is for before anyone draws the bowl. Is it the sink where every dirty plate ends up, or a second spot to rinse herbs while the main sink holds soaking pans? On a drawing, the two look identical. In use, they need very different things around them.
| Sink Arrangement | Choose It When | What the Plan Must Resolve |
|---|---|---|
| Main sink in the island | The island is the practical center for prep and cleanup. | Dishwasher access, a landing spot for dirty dishes, waste storage, and usable prep counter. |
| Prep sink in the island | A separate cleanup area already works, but prep needs water closer by. | A useful cutting area beside the bowl and enough cabinet space for the selected equipment. |
| Sink on the perimeter | The island’s main job is uninterrupted prep, dining, or serving. | A convenient route between the wall sink, prep surface, refrigerator, and cooktop. |
A main sink in the island has to absorb the whole cleanup: plates waiting to be loaded, pans draining, clean dishes heading back to the cabinets. If all of that lands on the same stretch where you chop, the island ends up doing two jobs badly. A prep sink has an easier life. It still needs a reason to exist, like rinsing produce next to the board while someone else handles dishes at the wall.
Pick the bowl around your biggest pot, not around how the island looks. Kohler’s specification sheets list a minimum base cabinet width for each sink model, so the sink you choose also decides the size of the cabinet underneath it. A generous island can still end up with a cramped sink base.
Test the Routes for Cooking and Cleanup
Run the sink position against a real evening, with the routes drawn on the plan. A good spot keeps the common trips short and keeps the dishwasher door, and anyone else in the kitchen, out of your way.
Following the Food Prep Route
At 6:00 the grocery bags come in. Note where they land and how far that is from the refrigerator. By 6:15 vegetables are being rinsed and moved to the cutting board. If the sink and the board sit on opposite sides of the island, every carrot drips its way across the counter. By 6:30 chopped food is heading to the cooktop, so count how many times that trip loops around the end of the island.
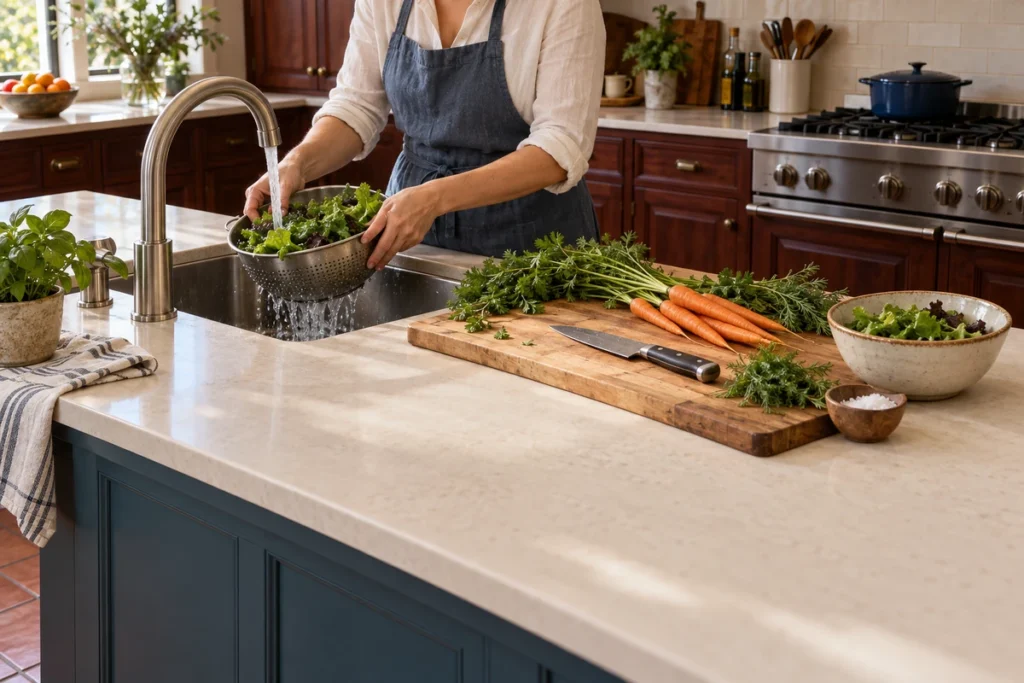
Around the same time, someone else often wanders in for a glass of water or to set the table. Draw that person too. If they end up in the same narrow passage as the cook, either the sink moves or the island takes on a smaller job. Compare a few kitchen layouts with an island at room scale, because a sink spot that only works for one person will feel tight on the first busy night.
Planning the Sink and Dishwasher Together
At 7:30 the table is cleared and the dishwasher door comes down. That open door is the biggest thing in the cleanup zone, so draw it at full projection with a person standing in front of it. Can that person still reach the sink, the trash pull-out, and the cabinet where everyday plates live? If someone else is still prepping while the dishwasher gets loaded, give the two jobs separate stretches of counter. A short walk to the dishwasher does little good if the person scrubbing a stockpot has to step aside every time the door opens.
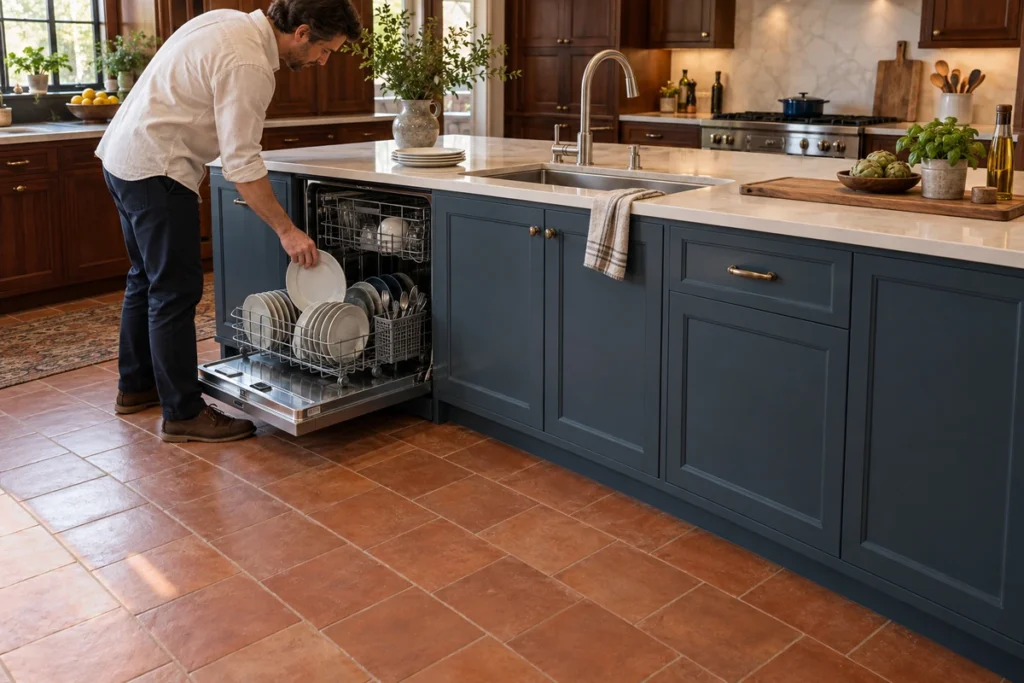
Put the dishwasher on whichever side matches how your household loads: rinse, rack, put away. Try both sides on the plan before settling on the one that looks tidier. NKBA’s Kitchen Planning Guidelines recommend keeping the nearest edge of the primary dishwasher within 36 inches (914 mm) of the nearest edge of a sink. Check that against the installation instructions for the model you’re actually buying.
Protect Prep Space, Seating, and Sightlines
Once the sink, faucet, soap pump, and drying rack are on the island, measure what’s left. A top that looks roomy on a drawing shrinks fast when a rack, a stack of plates, and a board are all sitting on it at 6:30.
Continuous Countertop
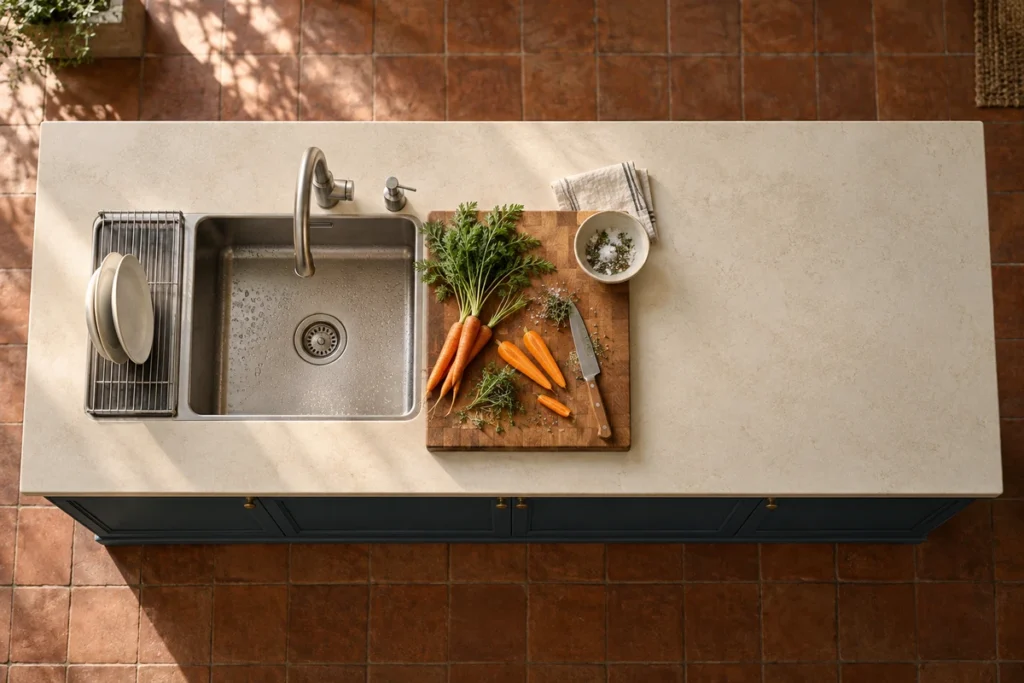
Keep one honest run of counter right next to the bowl. NKBA’s guidelines recommend a continuous prep area at least 36 inches wide and 24 inches deep (914 by 610 mm) immediately beside a sink. That’s a planning reference, not a minimum island size and not a stand-in for your project’s requirements.
Work out the island length from the sink cabinet the product needs plus the counter you want beside it. The length that merely fits the bowl is the wrong starting point. Mark where the board and ingredients go, then mark a separate landing spot for dirty dishes. If the two overlap on a normal night, cut a fixture or move cleanup to the perimeter.
Seating and Views
At 7:00 people sit down at the island, which is exactly when the sink side is busy with a pan or two. Draw the occupied stools, the knees under the counter, and the cook at the sink in one view, with the dishwasher open and the trash bin pulled out. After the sink and cabinets are fixed, check the stools against kitchen island seating dimensions.
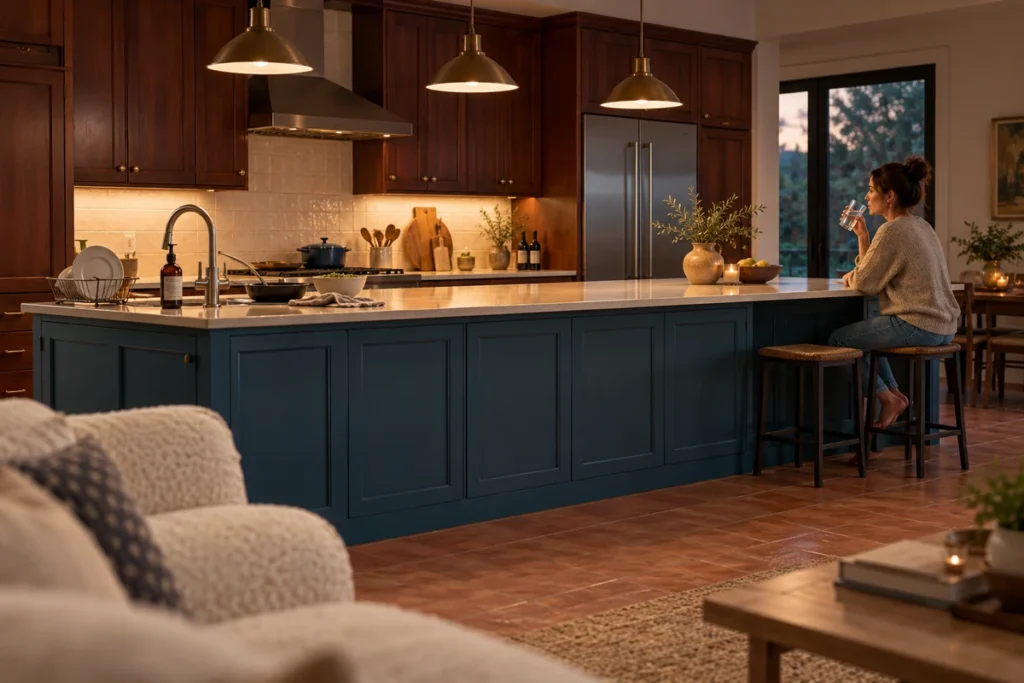
Then sit on the sofa, at least on paper. In an open-concept kitchen and living room, the island faces the rest of the house, and so does whatever is in the sink. Put the faucet, soap dispenser, drying rack, and a realistic pile of dishes in the 3D view. If you want the island to read as a clean serving counter during dinner, the main cleanup sink usually belongs on a perimeter run. A prep sink can still earn a place on the island if it has a real daily job.
Check the Cabinet and Plumbing Conditions
Before anyone signs off on the countertop cutout, make sure everything that has to live under the sink actually fits there. The bowl, faucet connections, drain, and any disposal or filter unit share one cabinet, and a plumber will need to reach them later. A cabinet drawing that leaves them out is showing you storage that doesn’t exist.
Ask the cabinet supplier and a local plumbing professional to confirm:
- The base cabinet and mounting method the sink requires.
- Room inside the cabinet for the selected plumbing and accessories.
- A workable water, drain, and vent route at the proposed position.
- Access to connections and equipment after drawers, bins, and panels go in.
- A match between the final sink template and the countertop fabrication drawing.
Kohler’s specification sheets tell the countertop cutter to use the cutout template supplied with the sink or a current one from Kohler, so get the selected model’s documents before fabrication. Plumbing requirements and site checks stay with the qualified local team. 3D interior design can show you the island, but it can’t show you what’s under the floor.
Review the Island in the Full Kitchen Design
Make the final call with the whole kitchen in view. The floor plan answers the practical questions: routes, cabinet openings, appliance doors, occupied stools. The 3D views answer the ones you’ll notice every day, like island proportions, faucet height, finishes, and what the sink looks like from the dining table. We put space planning, cabinetry, and materials into one model, so you can see how the island sits with the dining and living areas before moving on to products. The same team at GEORGE Design Studio supplies cabinetry and kitchen products too, so the island you approve on screen has a direct path to quotation.
When you send a project brief, describe your kitchen the way you’d describe a normal weeknight. Who cooks, and who cleans up? How many people eat at the island, and how often? Which sink, dishwasher, or cabinets have you already picked? Add the floor plan, a few photos, and the project location, and we can start from the kitchen you actually live in.
Frequently Asked Questions
Does a Kitchen Island Sink Have to Be Centered?
No, and off-center can be the better choice. Sliding the bowl toward one end can leave a long, uninterrupted prep run on the other side. Draw both versions with the faucet, dishwasher, and stools in place, then look at the island elevation, because the bowl’s position also reshuffles the cabinets below.
Can You Add a Sink to an Existing Kitchen Island?
Sometimes, but find out before you buy the sink. The cabinet supplier, countertop fabricator, and plumber need to check the existing base, the opening, the mounting method, and whether water and drain lines can reach that spot. An empty countertop doesn’t mean the plumbing can follow. Price that work against the simpler option of leaving the main sink where it is and using the island for prep.
Can a Workstation Sink Replace Prep Counter Space?
Not on a busy night. Kohler lists cutting boards, sink racks, and baskets as accessories for many of its sinks, and they’re handy. Once the bowl fills with pans or the board comes off for washing, though, you still need somewhere to chop and set things down. Keep a real prep surface next to the sink.